Diagnostics
Accessing Diagnostics
The Diagnostics window in BrightSign Control offers the same features as the Diagnostic Web Server APIsDiagnostic Web Server APIs in BrightSign Author. There are two ways to open the Diagnostics window:
- Click on the name of your player in the Players List. This will open a new window that shows player information and an Open Diagnostics option.
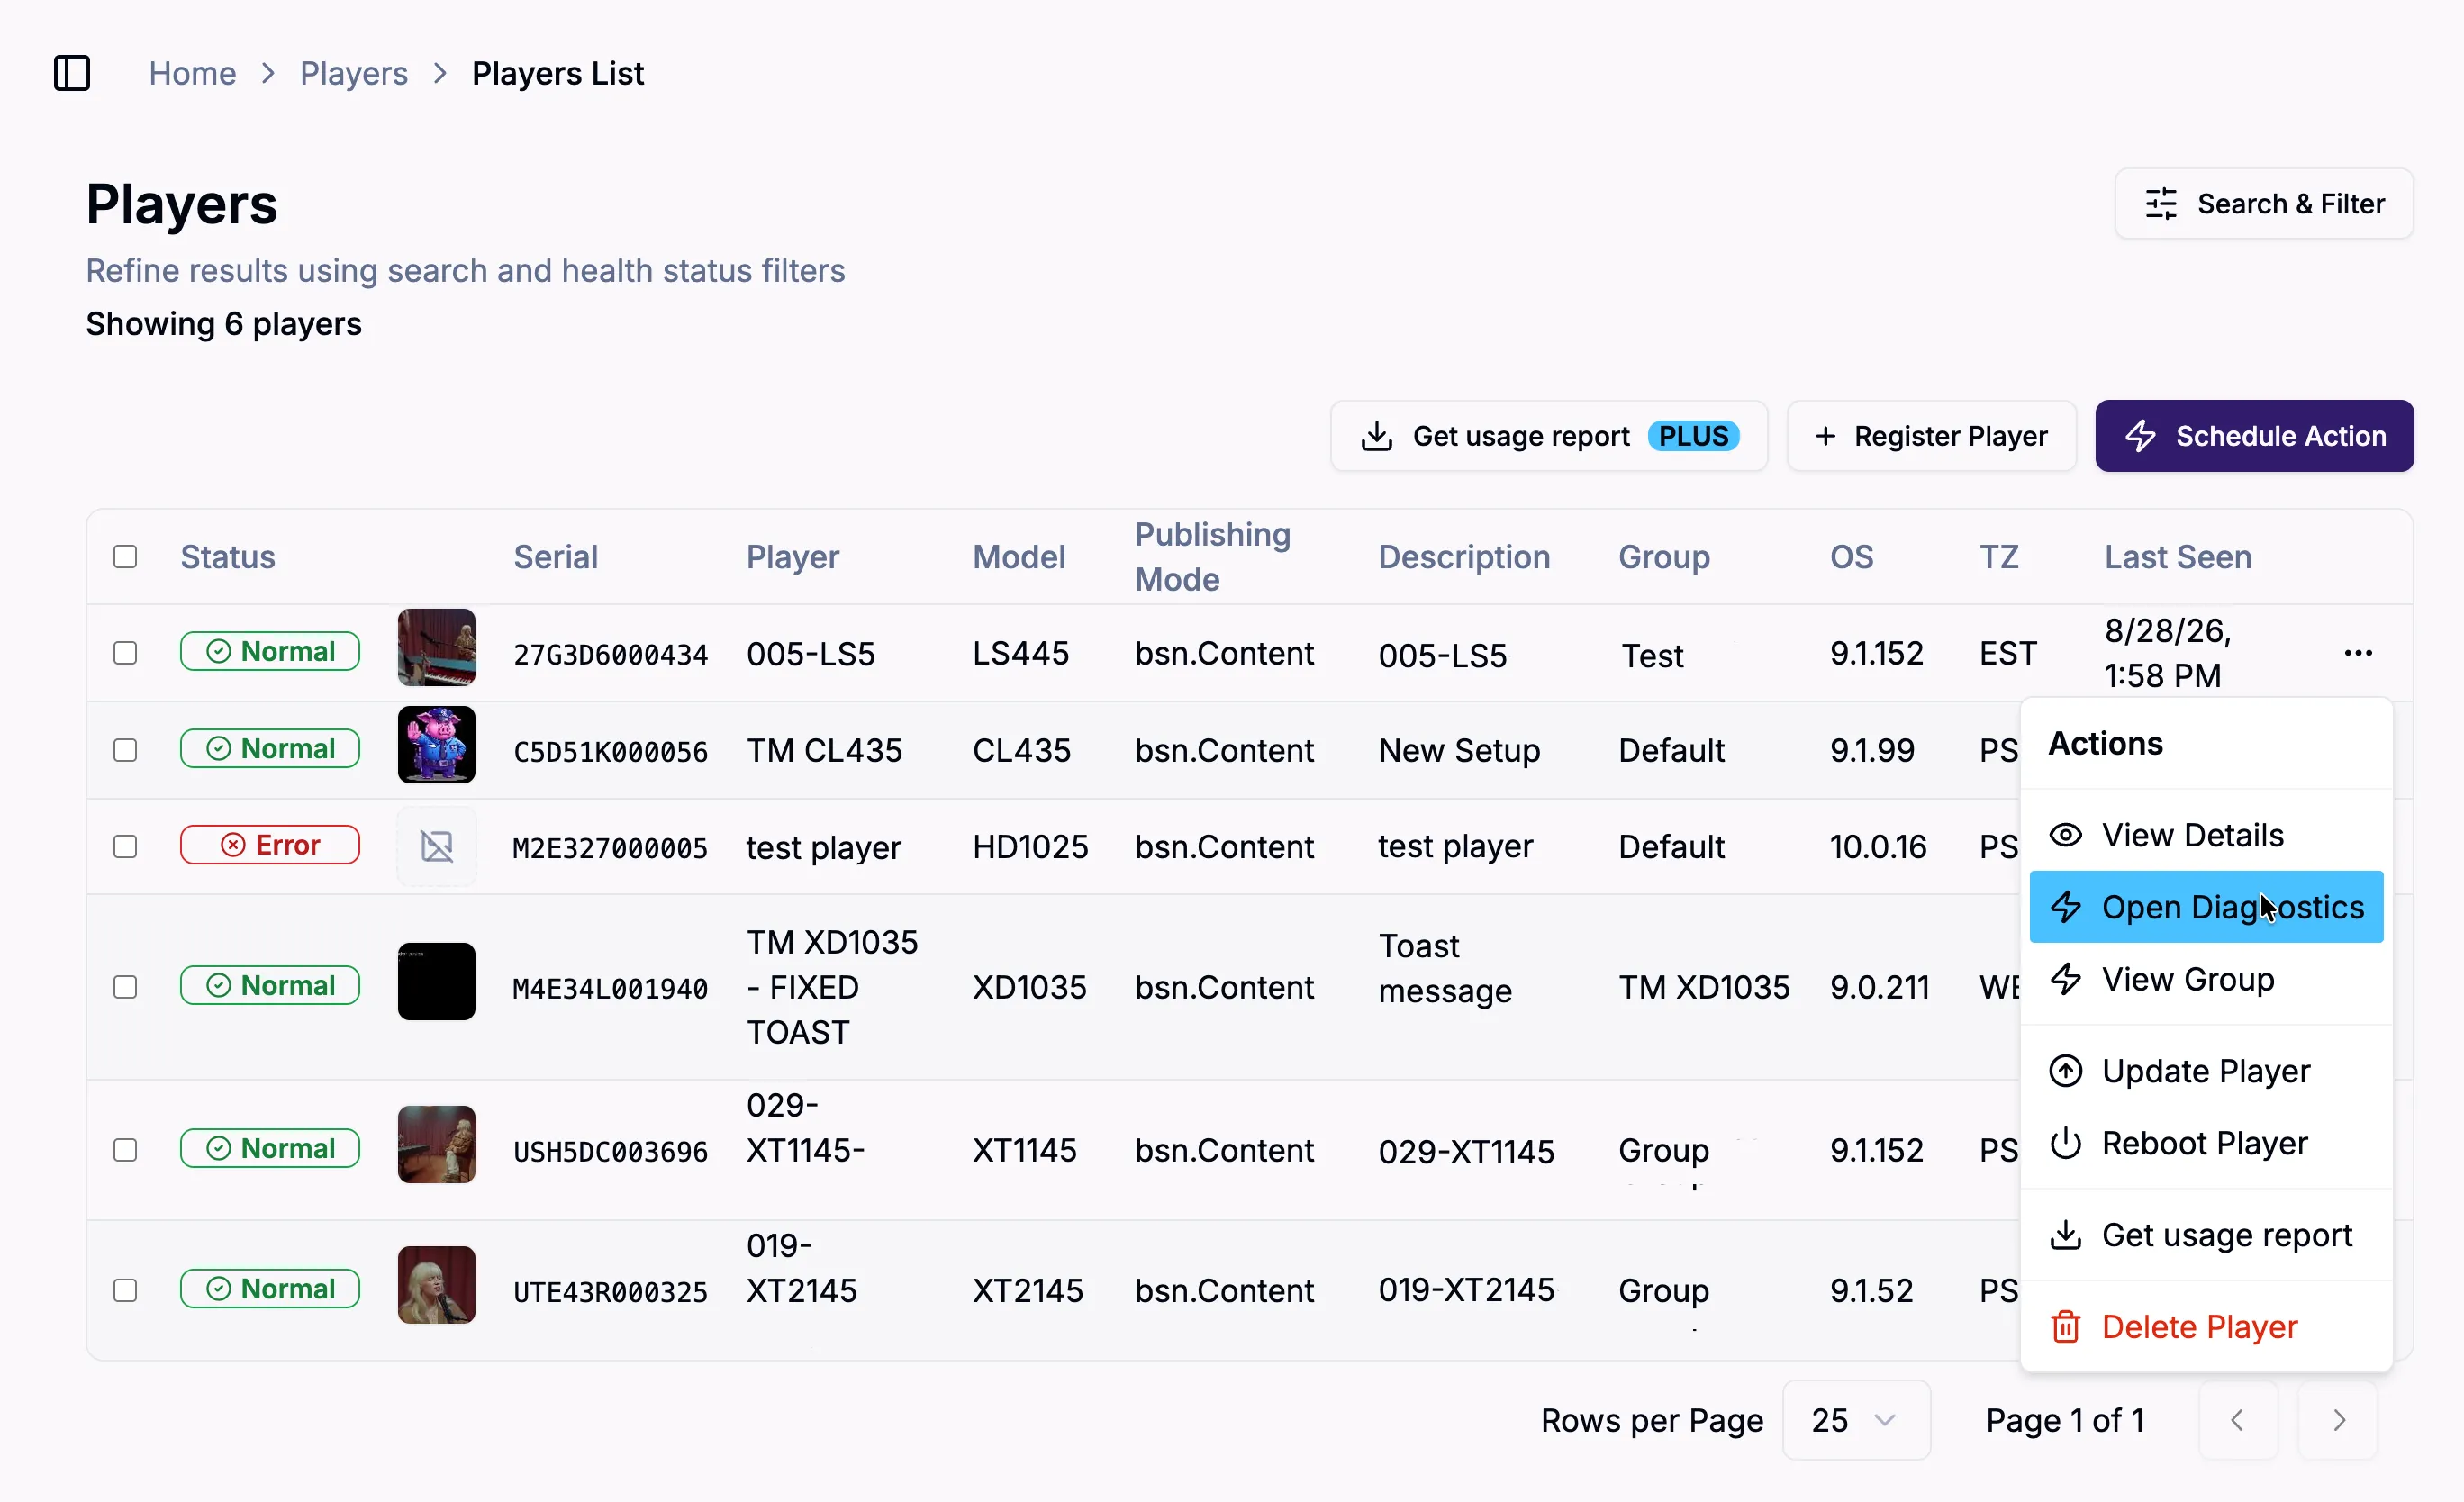
- Select a player in the Players List and click on the three dot menu to the right. This will open a dropdown menu in which you can select Open Diagnostics (see the Image below).
Overview
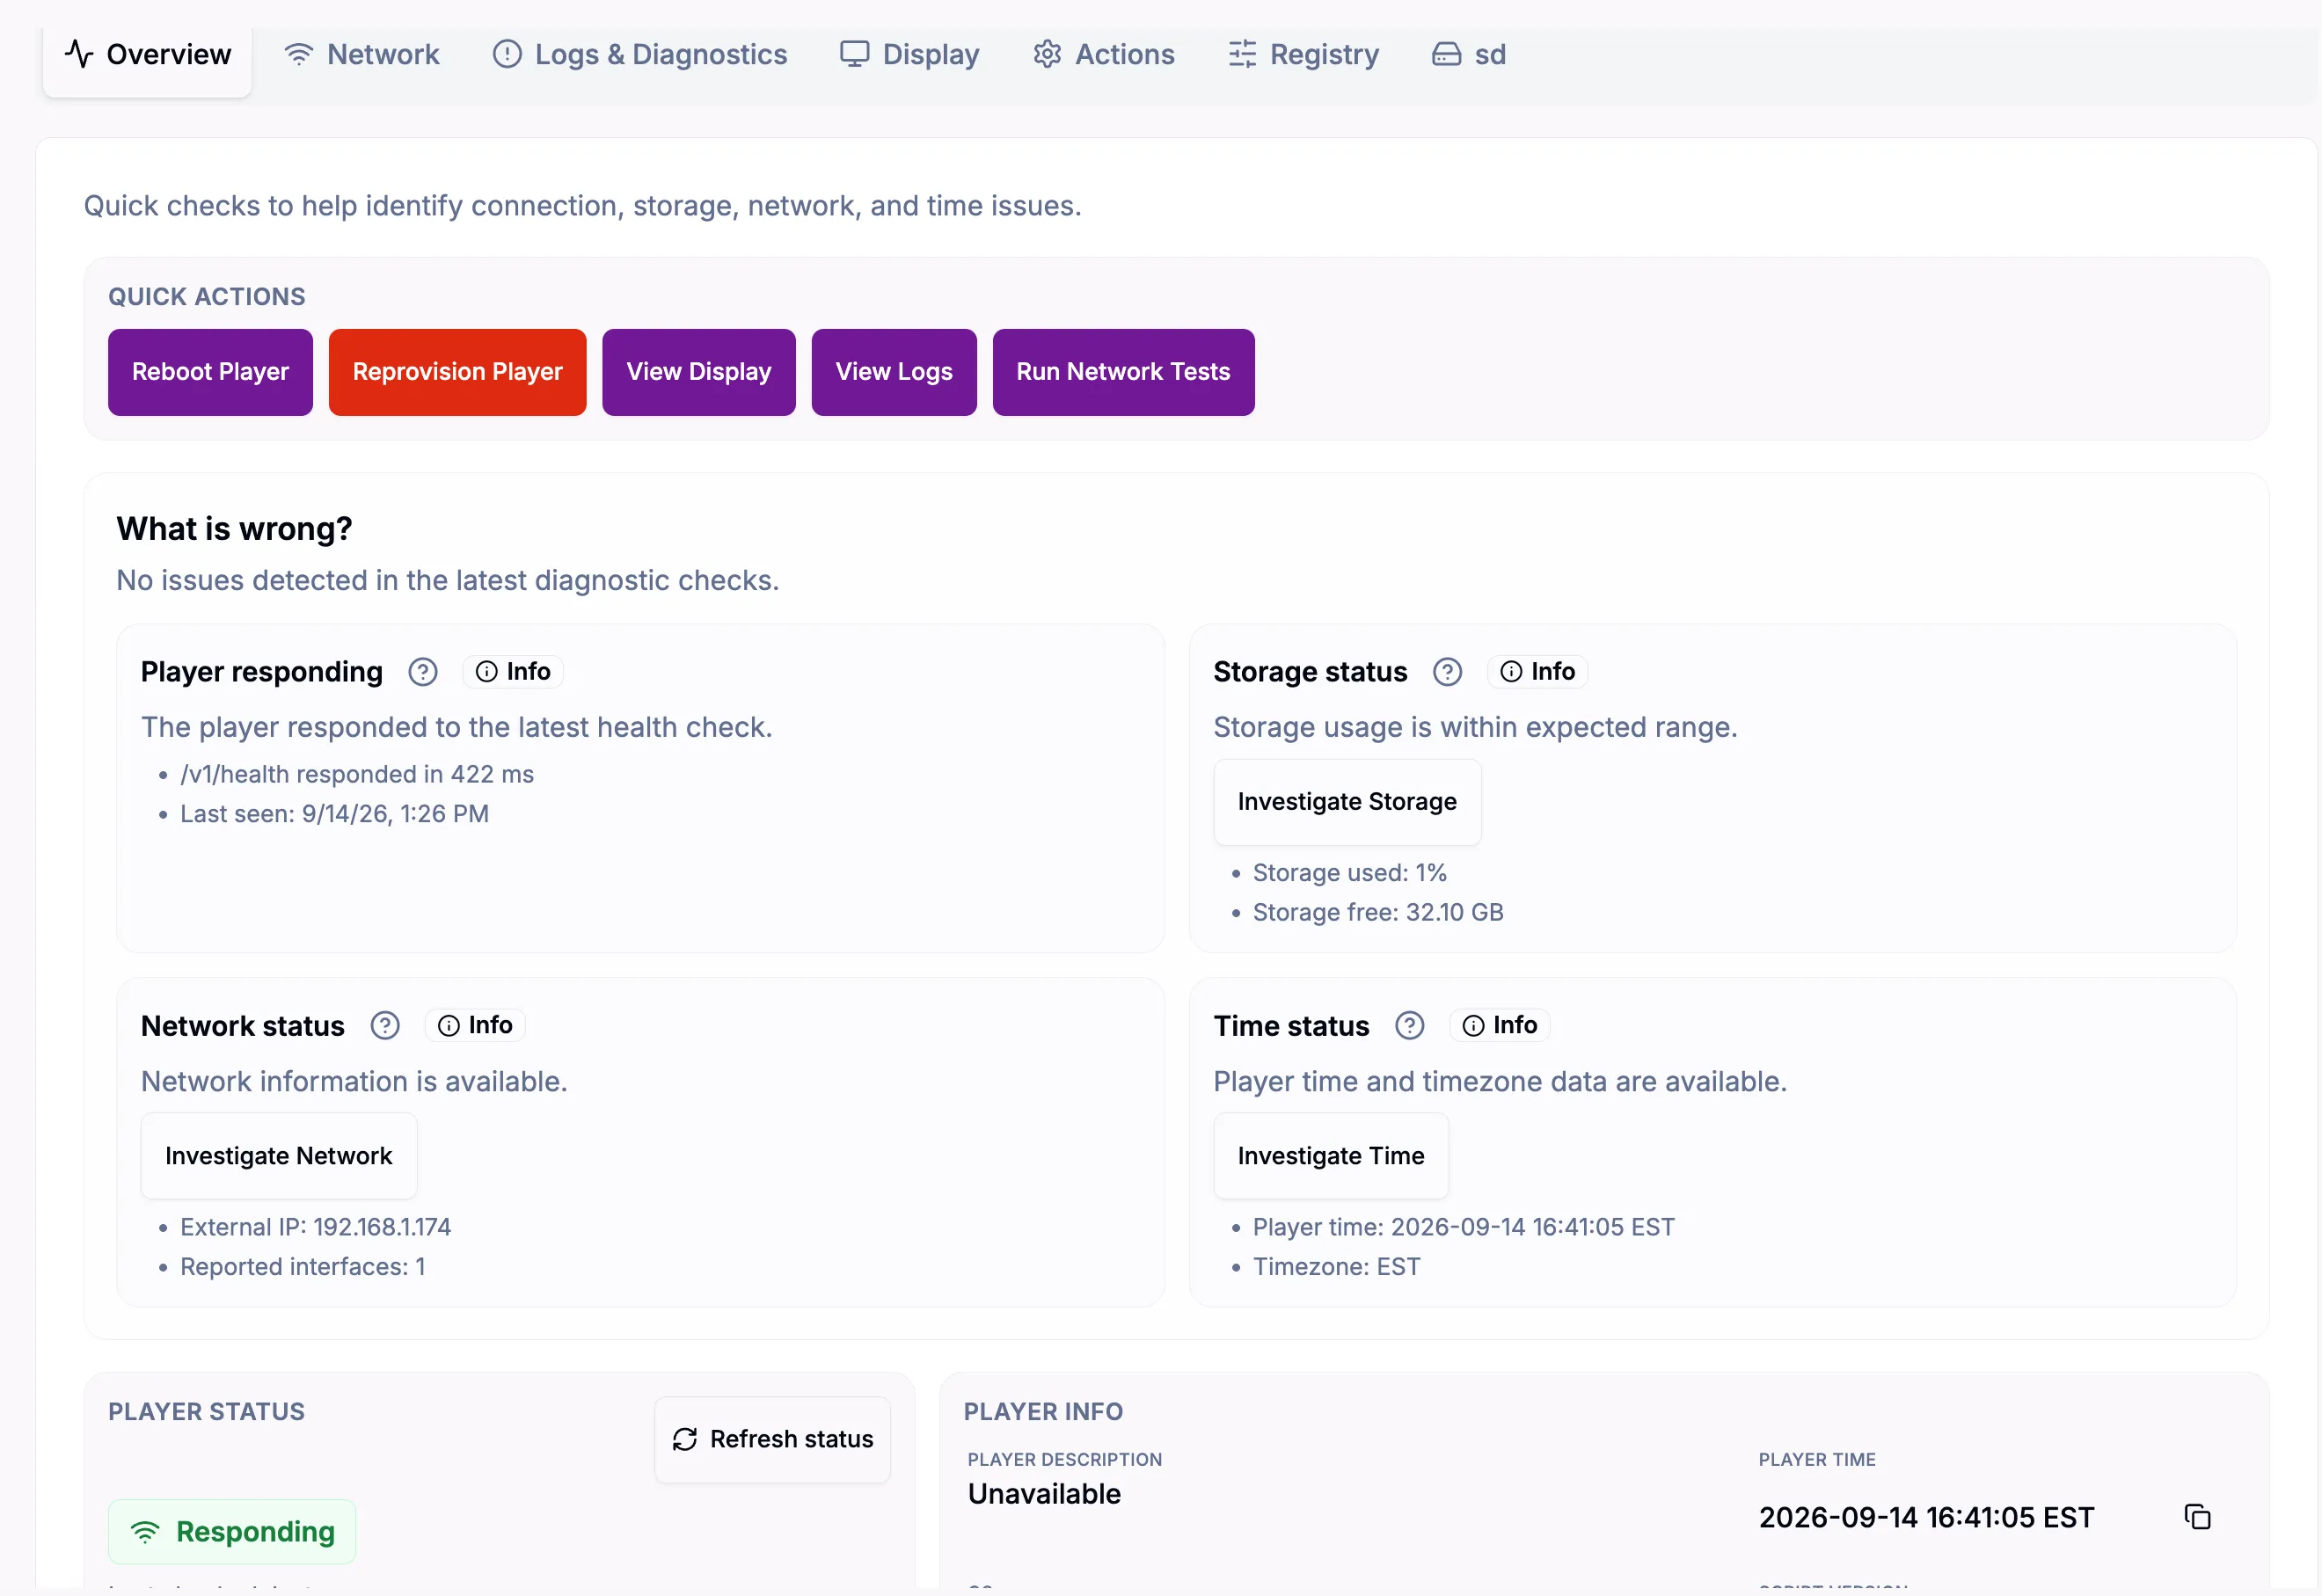
The opening section contains quick checks to help identify connection, storage, network, and time issues. It also allows you to quickly access actions like rebooting, reprovisioning, viewing the display and logs, and network tests.
Network
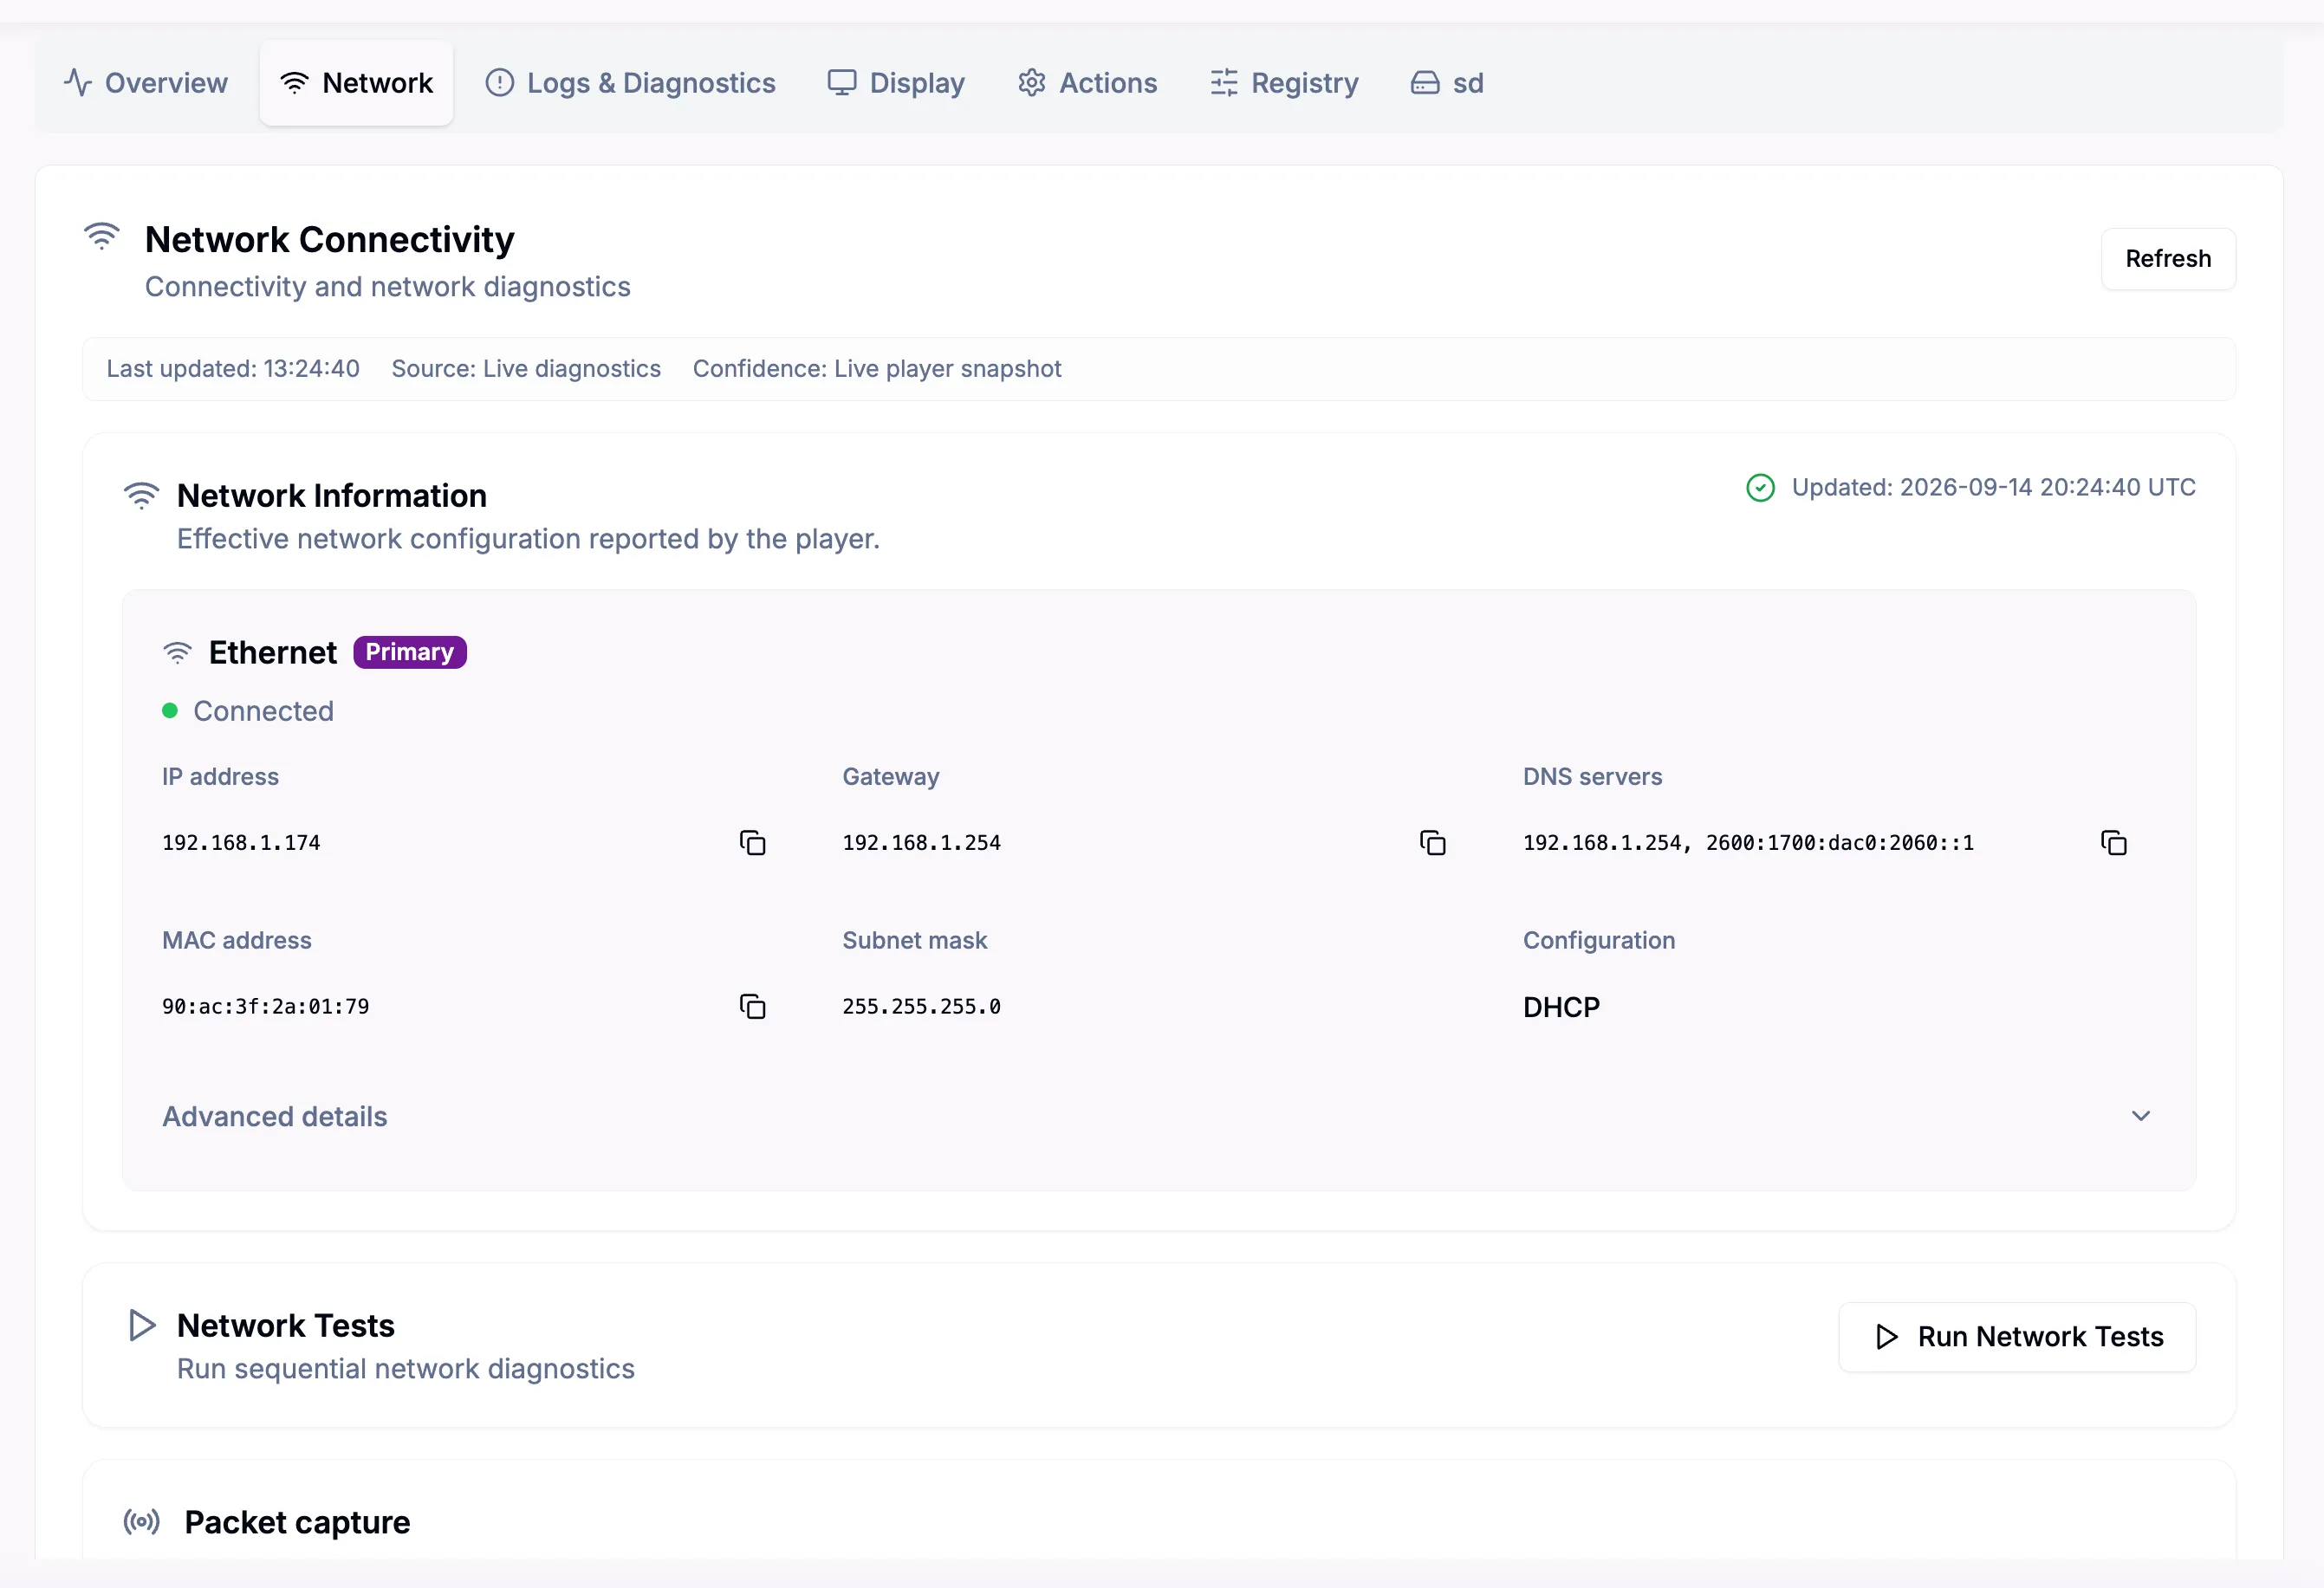
This section contains connectivity and network diagnostics including network diagnostic tests, packet capture, ping diagnostics, and DNS lookup.
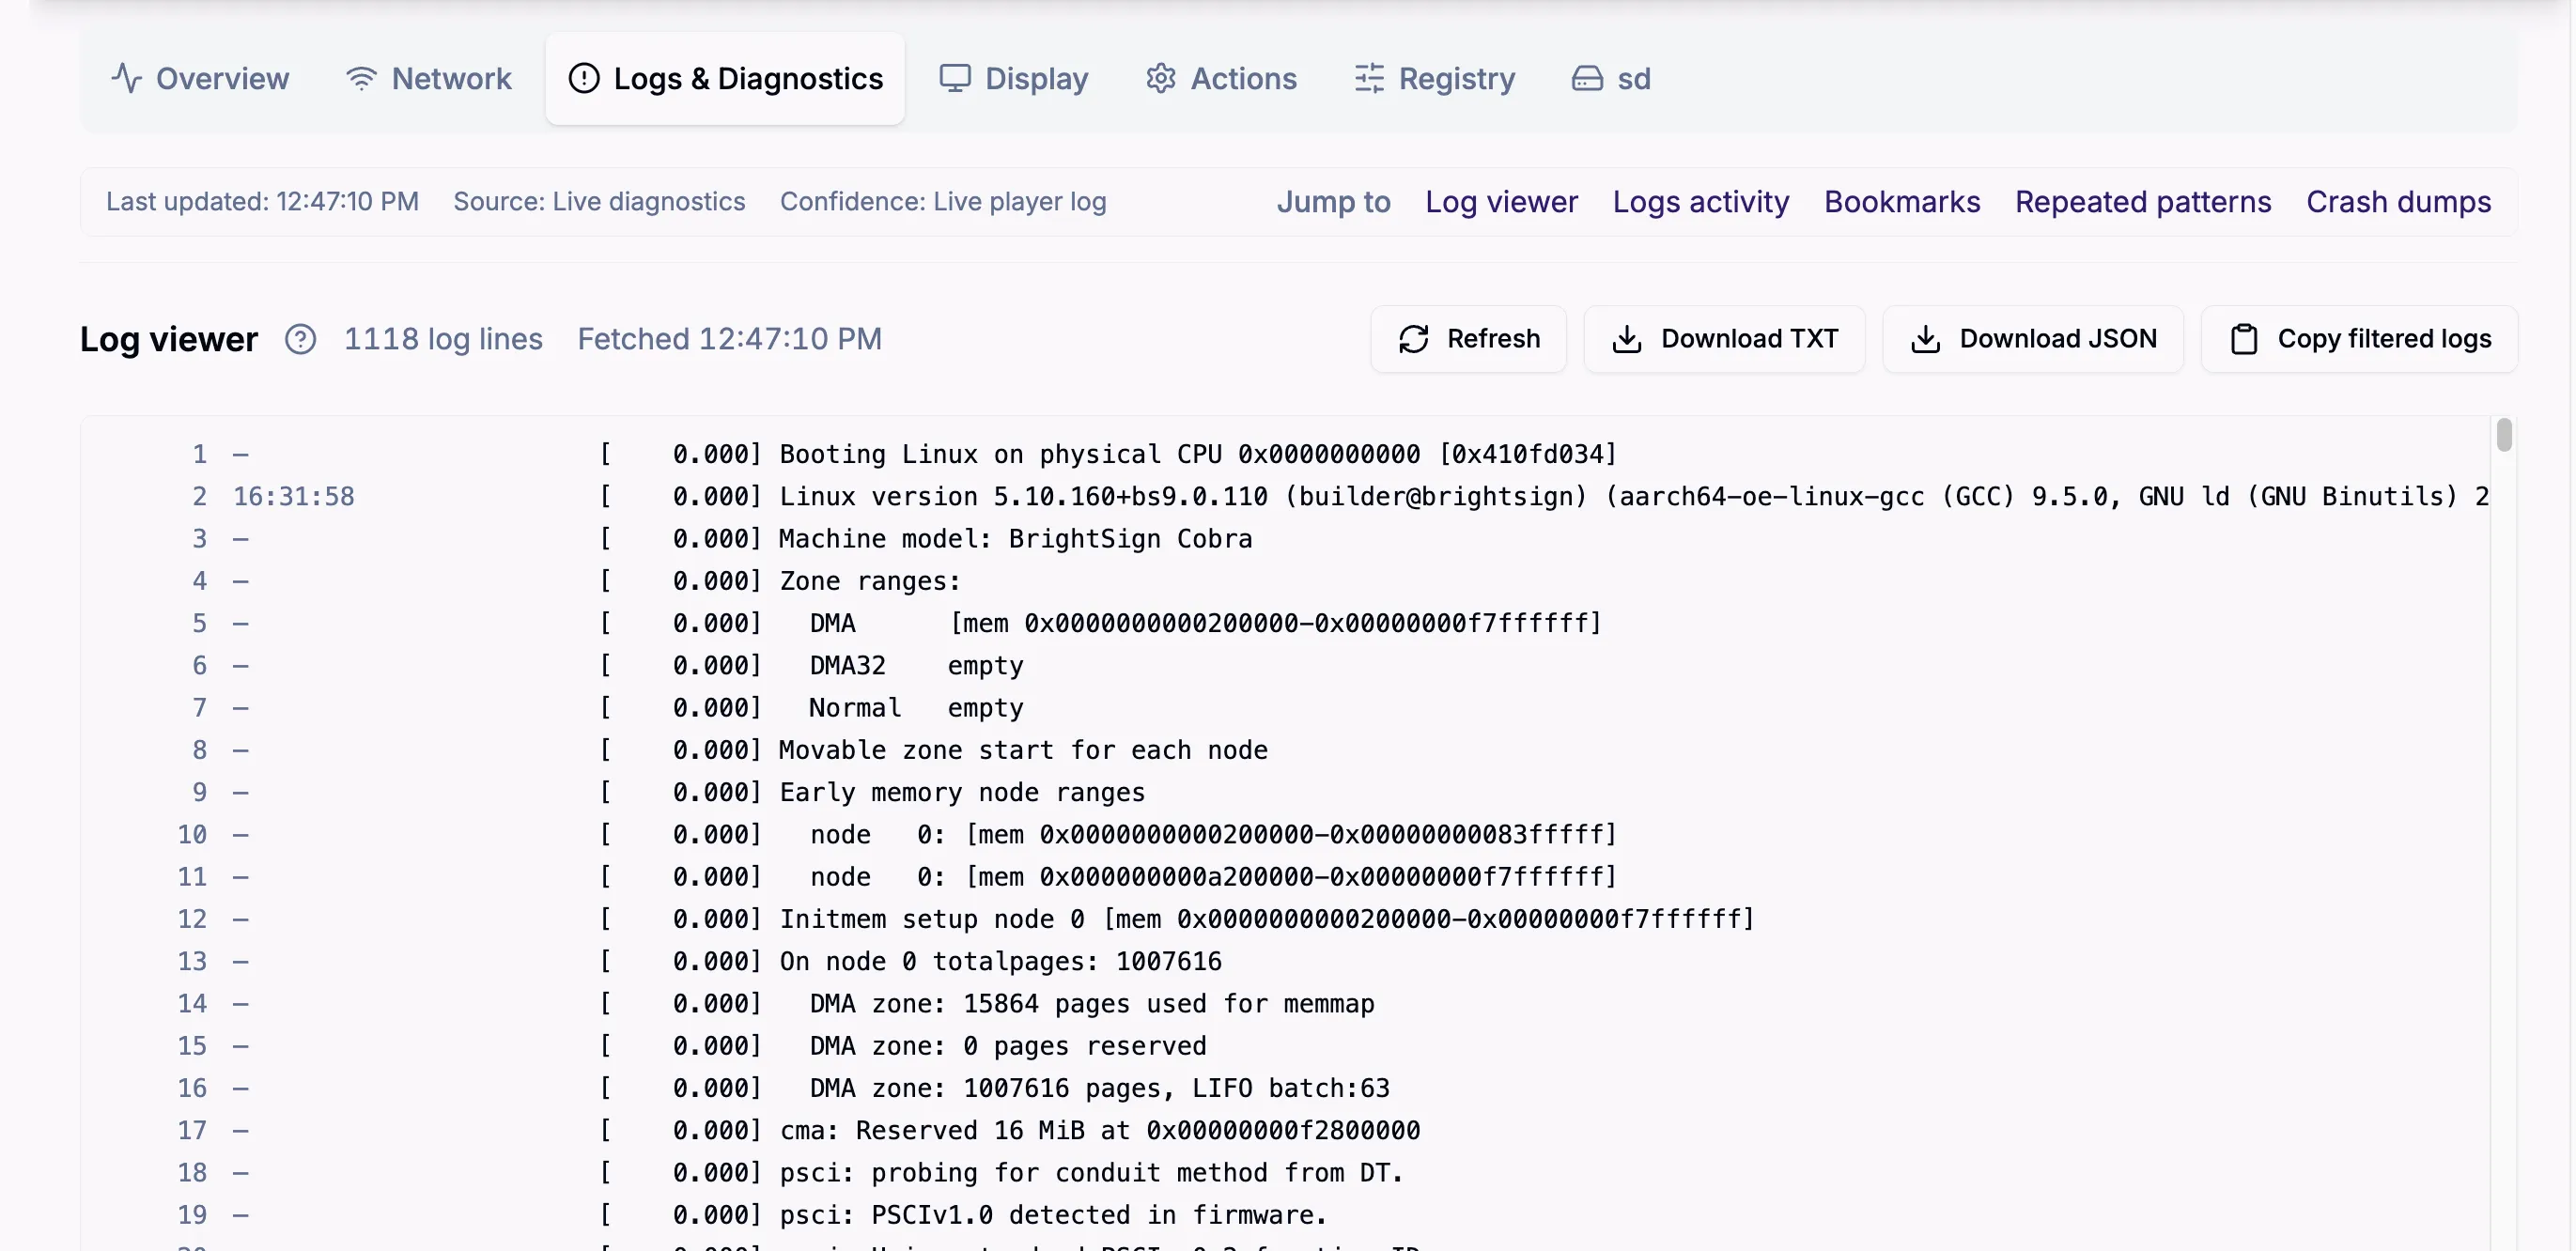
Logs & Diagnostics
Here you can see logs and log activity over time, download log files, find patterns in the logs, and download crash dumps from the player. In addition, you can select a line in the log viewer and Bookmark selected line so that you can quickly find and refer to it again.
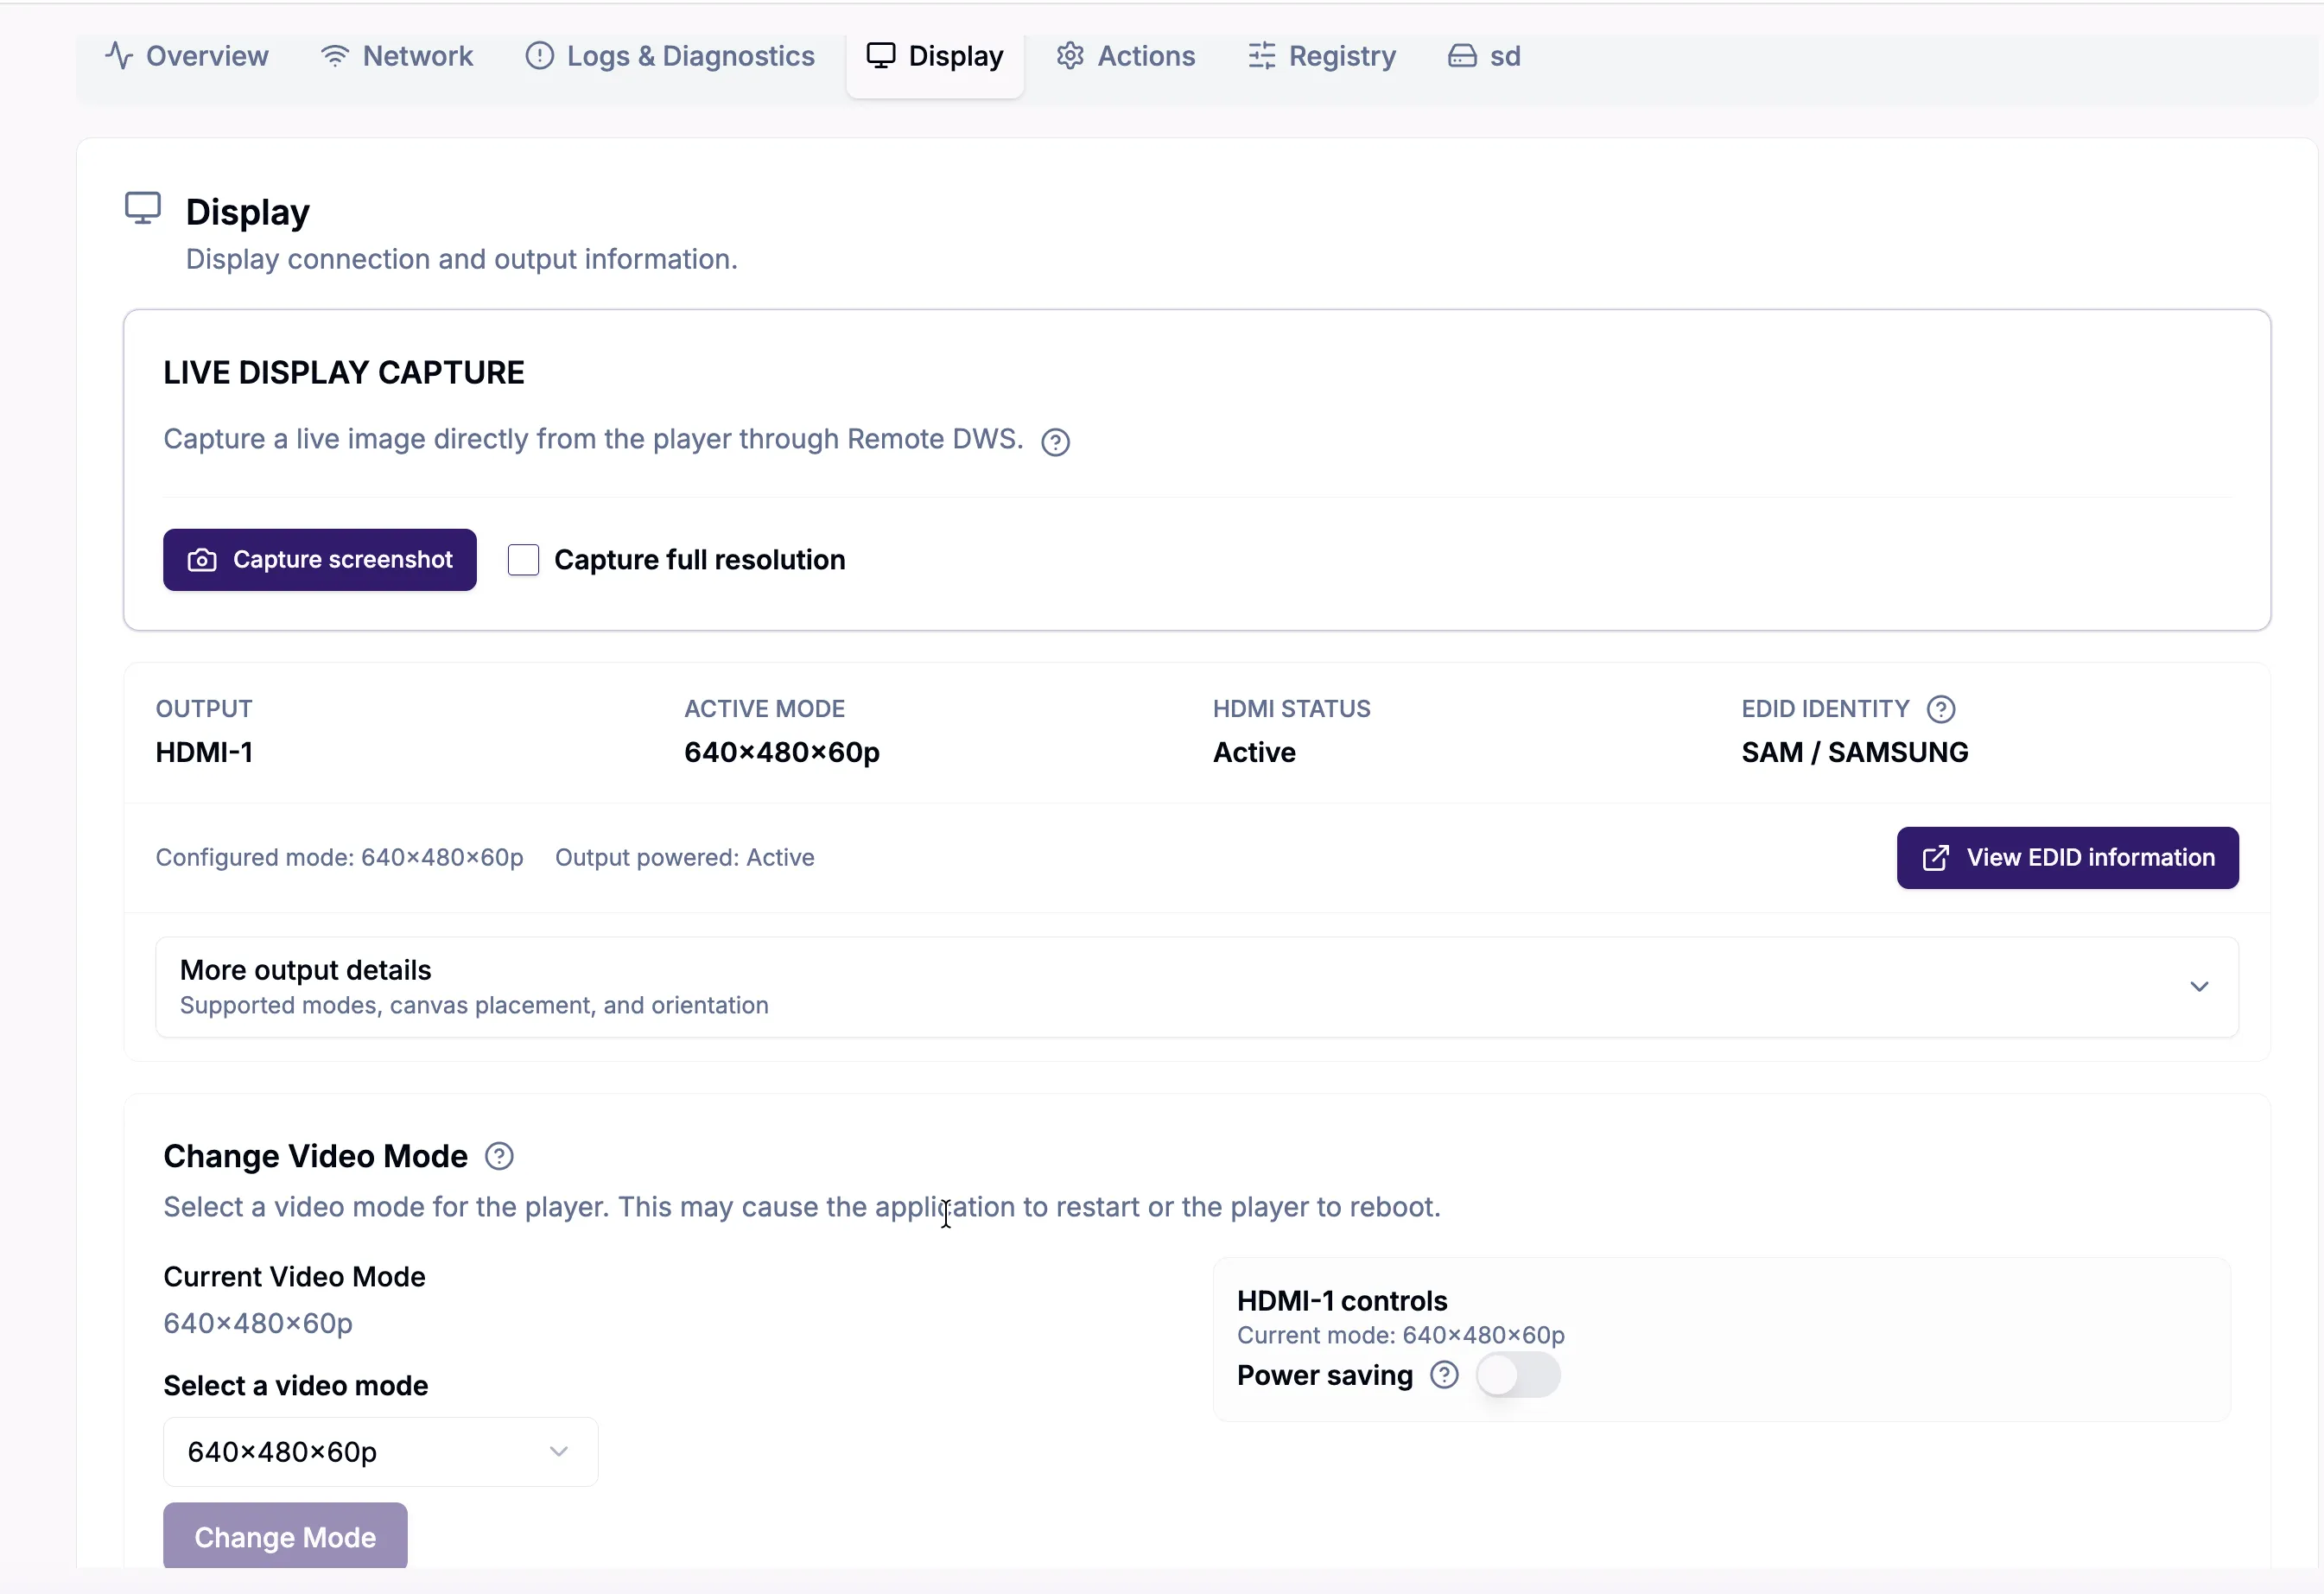
Display
This section offers information and provides diagnostic tools related to the player's video display settings. Here you can capture a full-resolution live display image to review screen problems, see output details, and change the video mode.
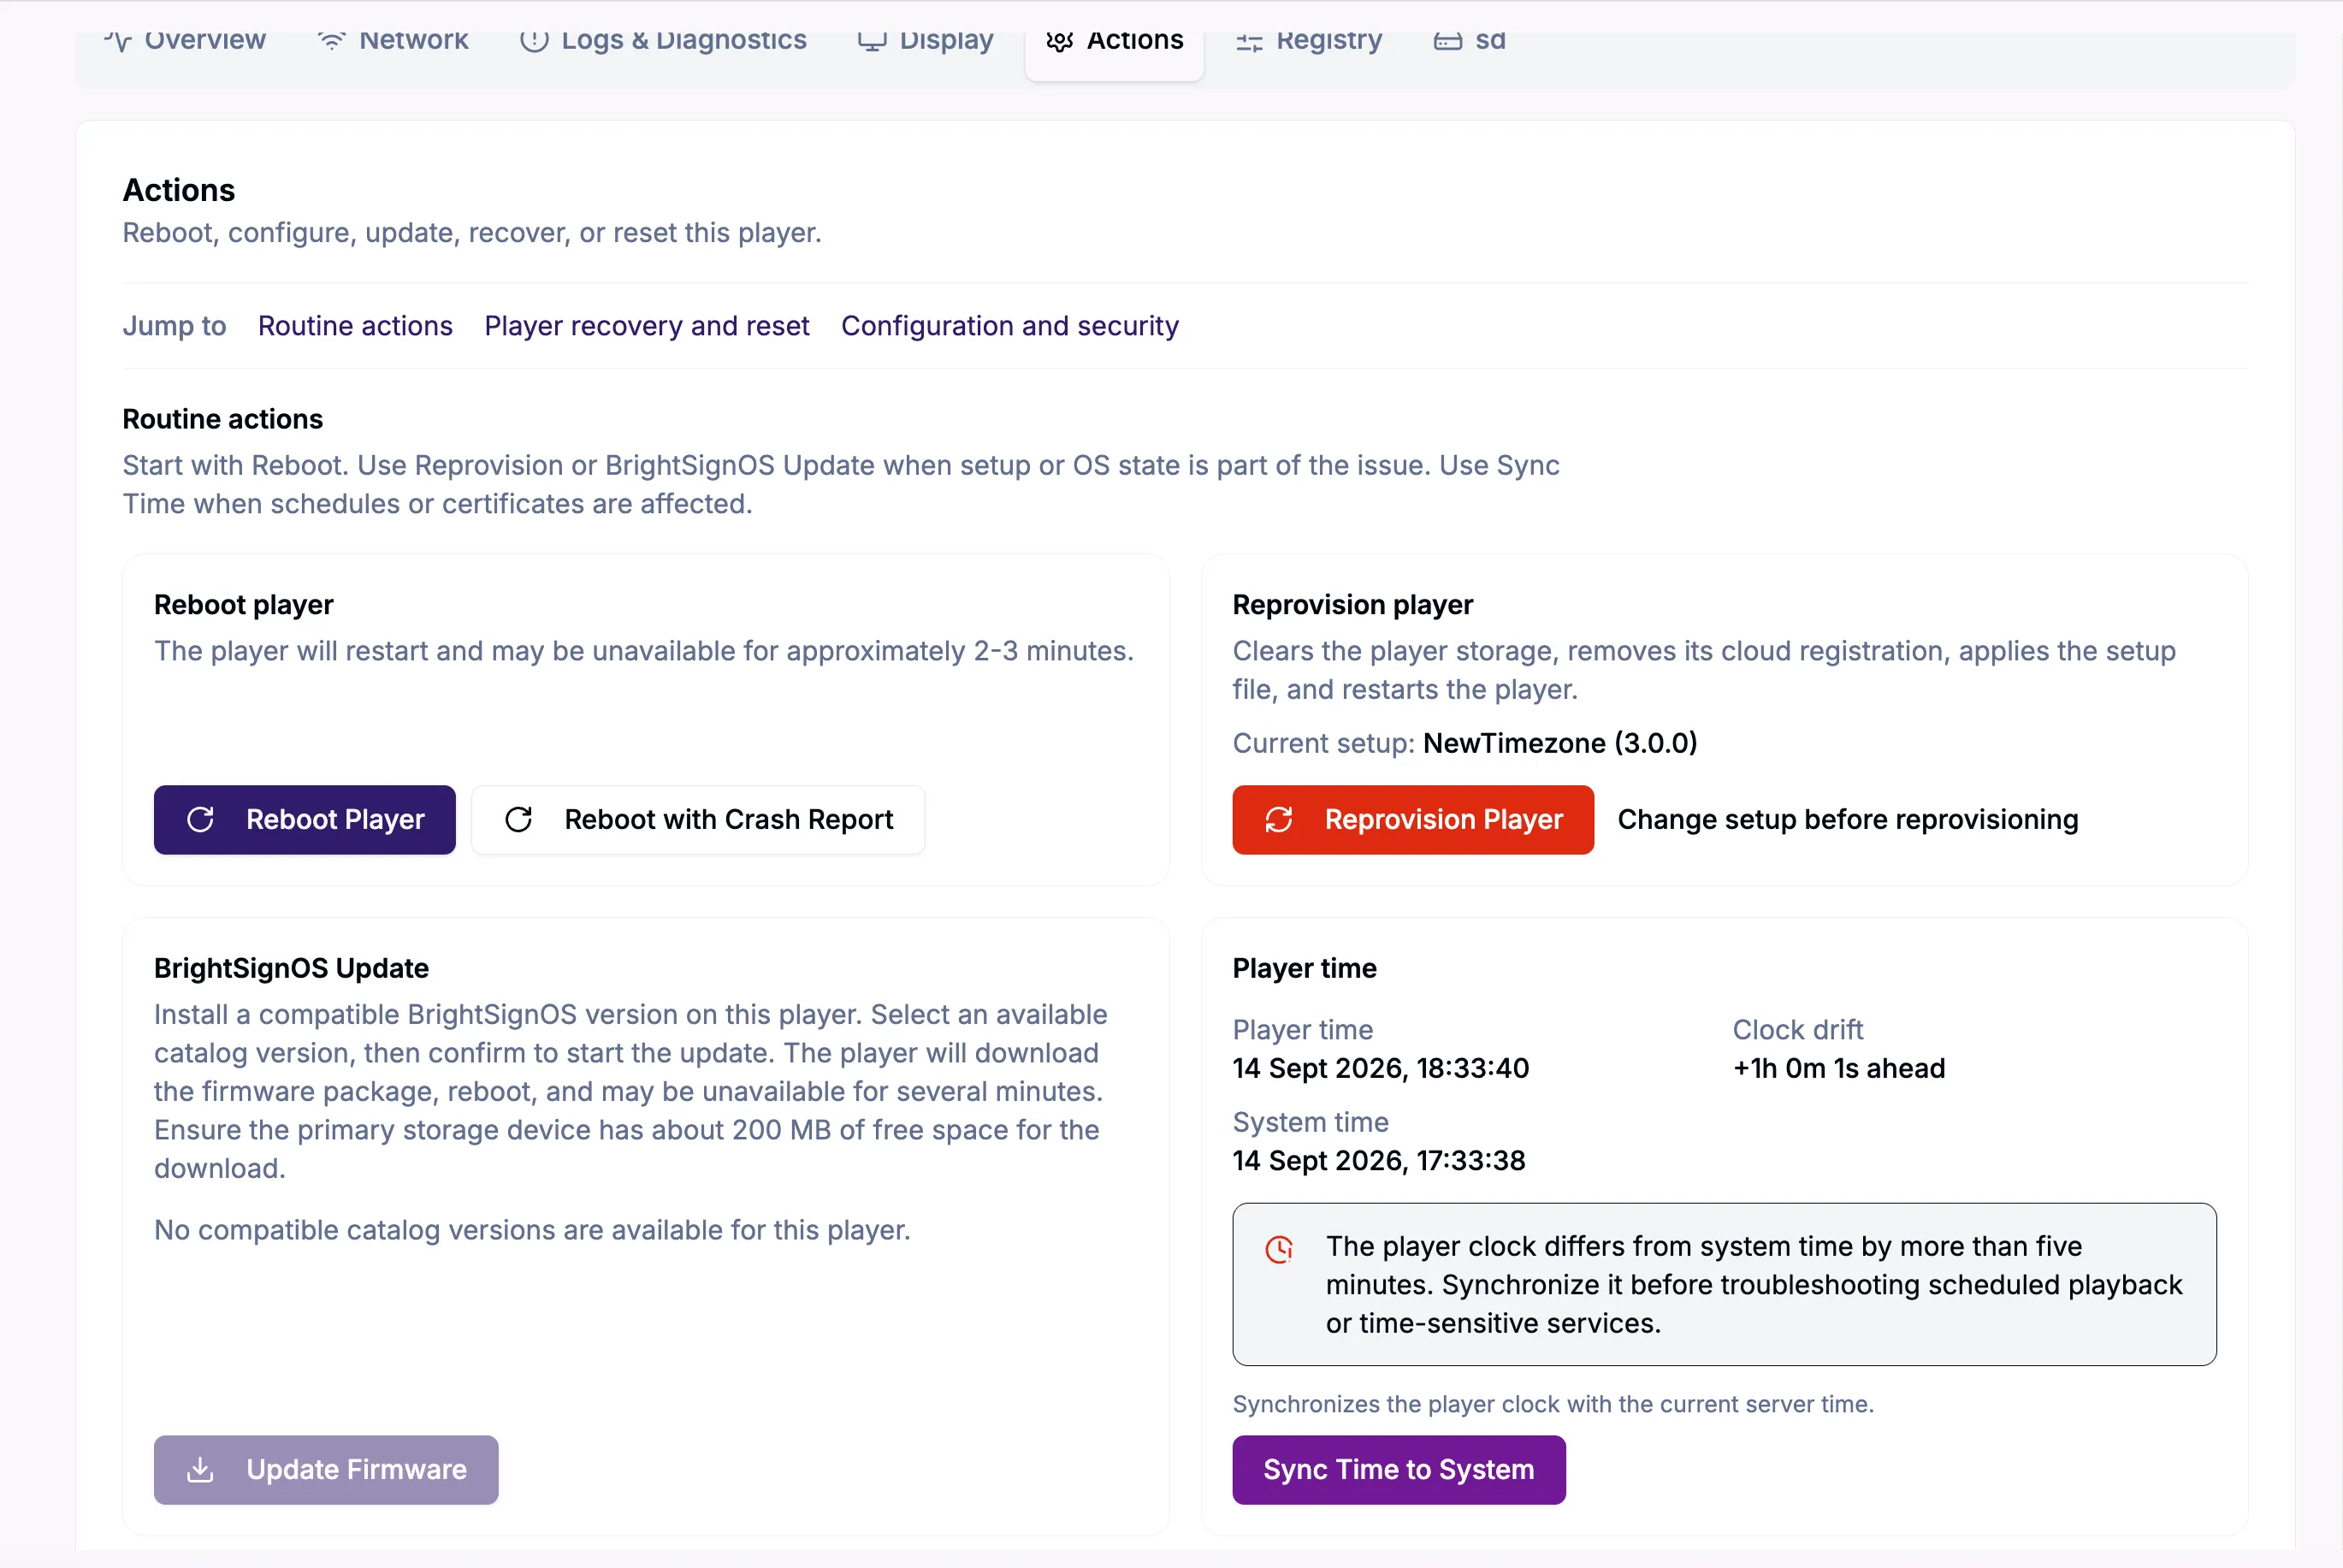
Actions
Here you can reboot, configure, update, recover, or reset the selected player. Actions are divided into three categories: Routine actions, Player recovery and reset, and Configuration and security.
Routine actions
These common actions are available in the first section.
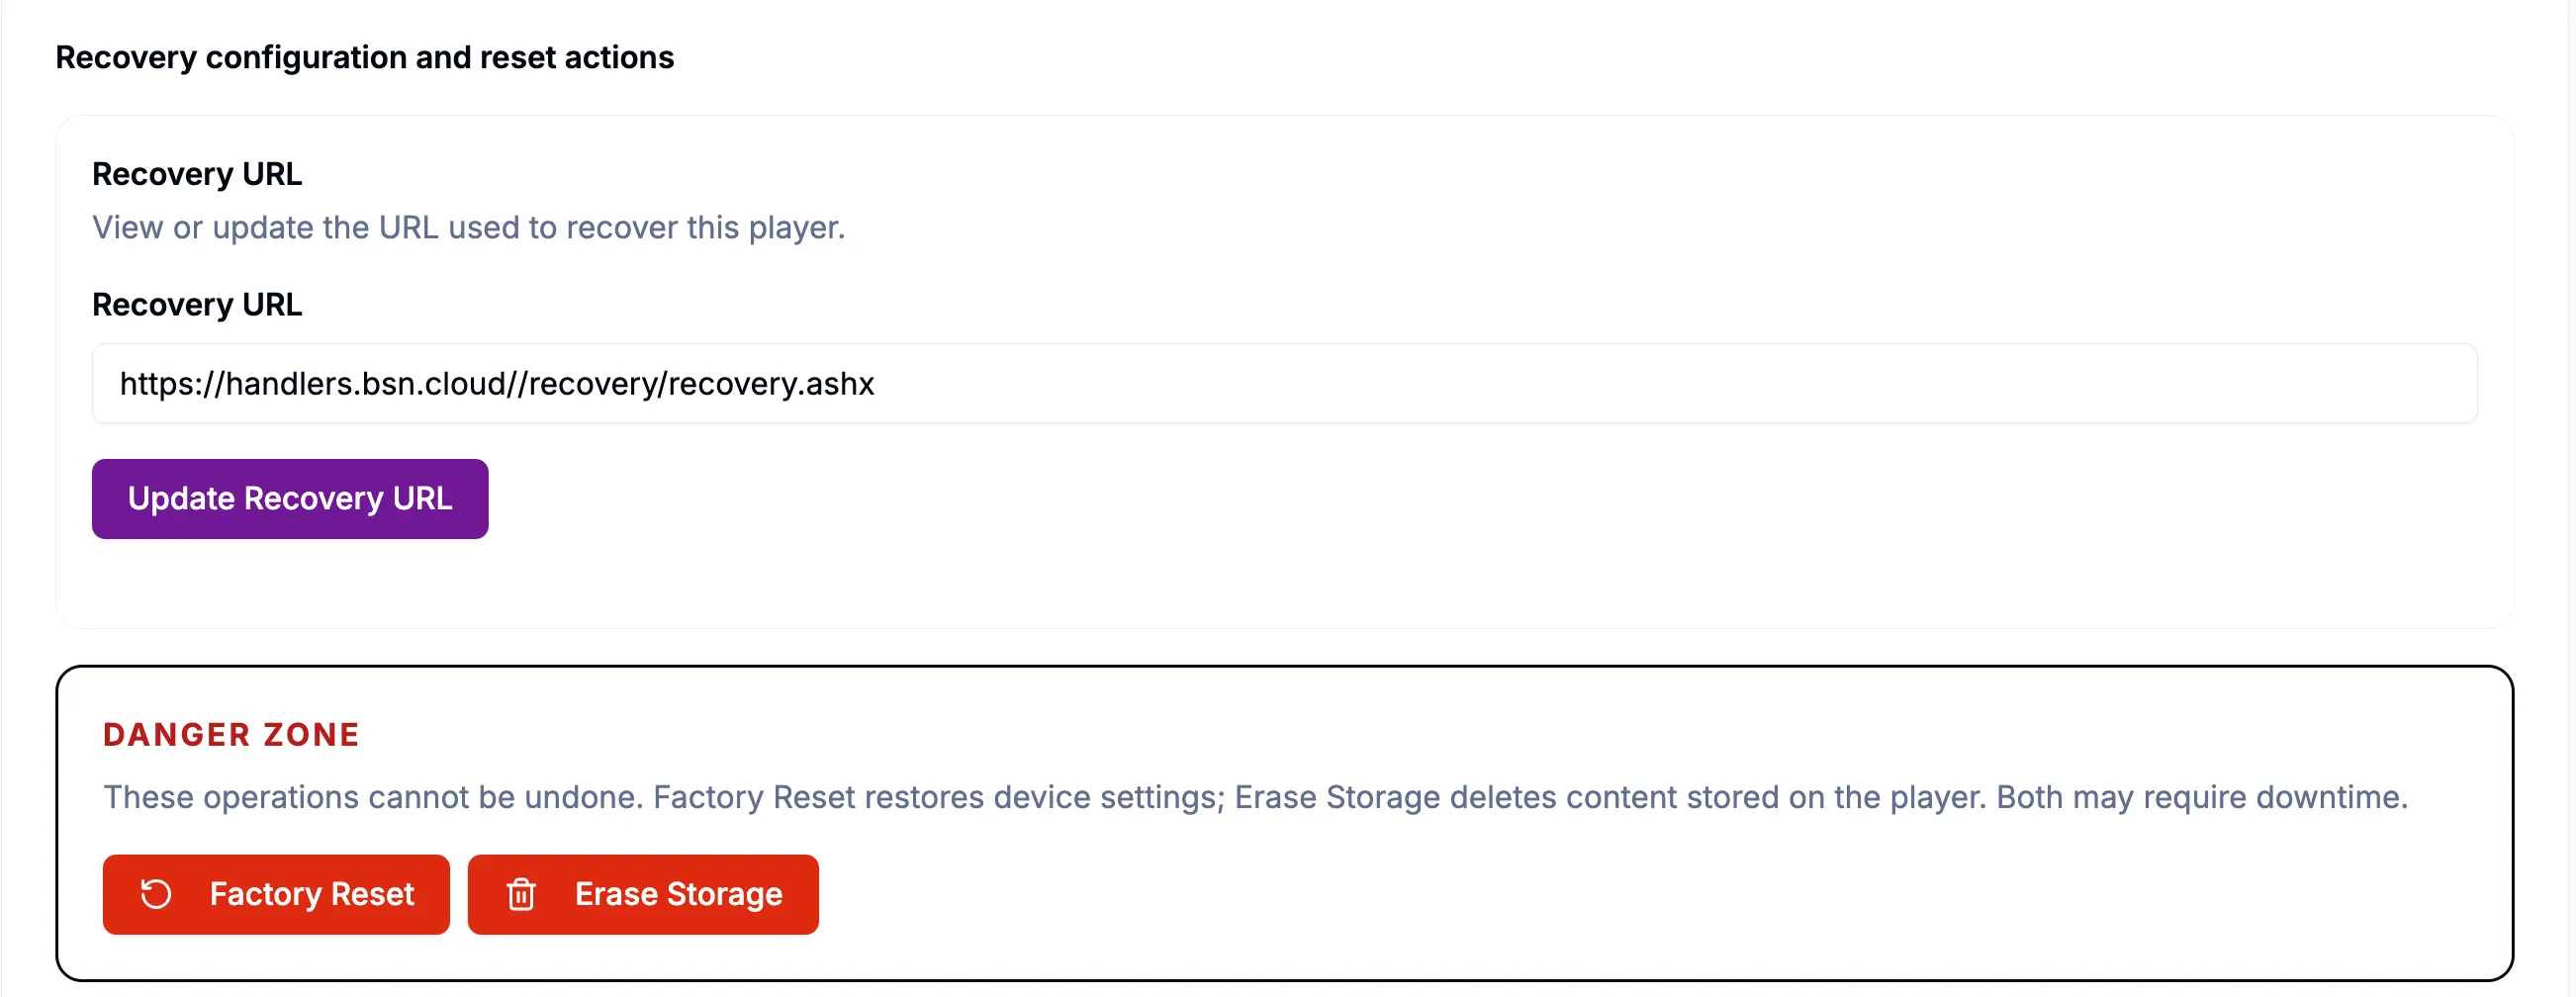
Player recovery and reset
In this section, you can update the recovery URL, factory reset the player, and/or erase the player storage. Note that factory resetting the player and erasing player storage cannot be undone.
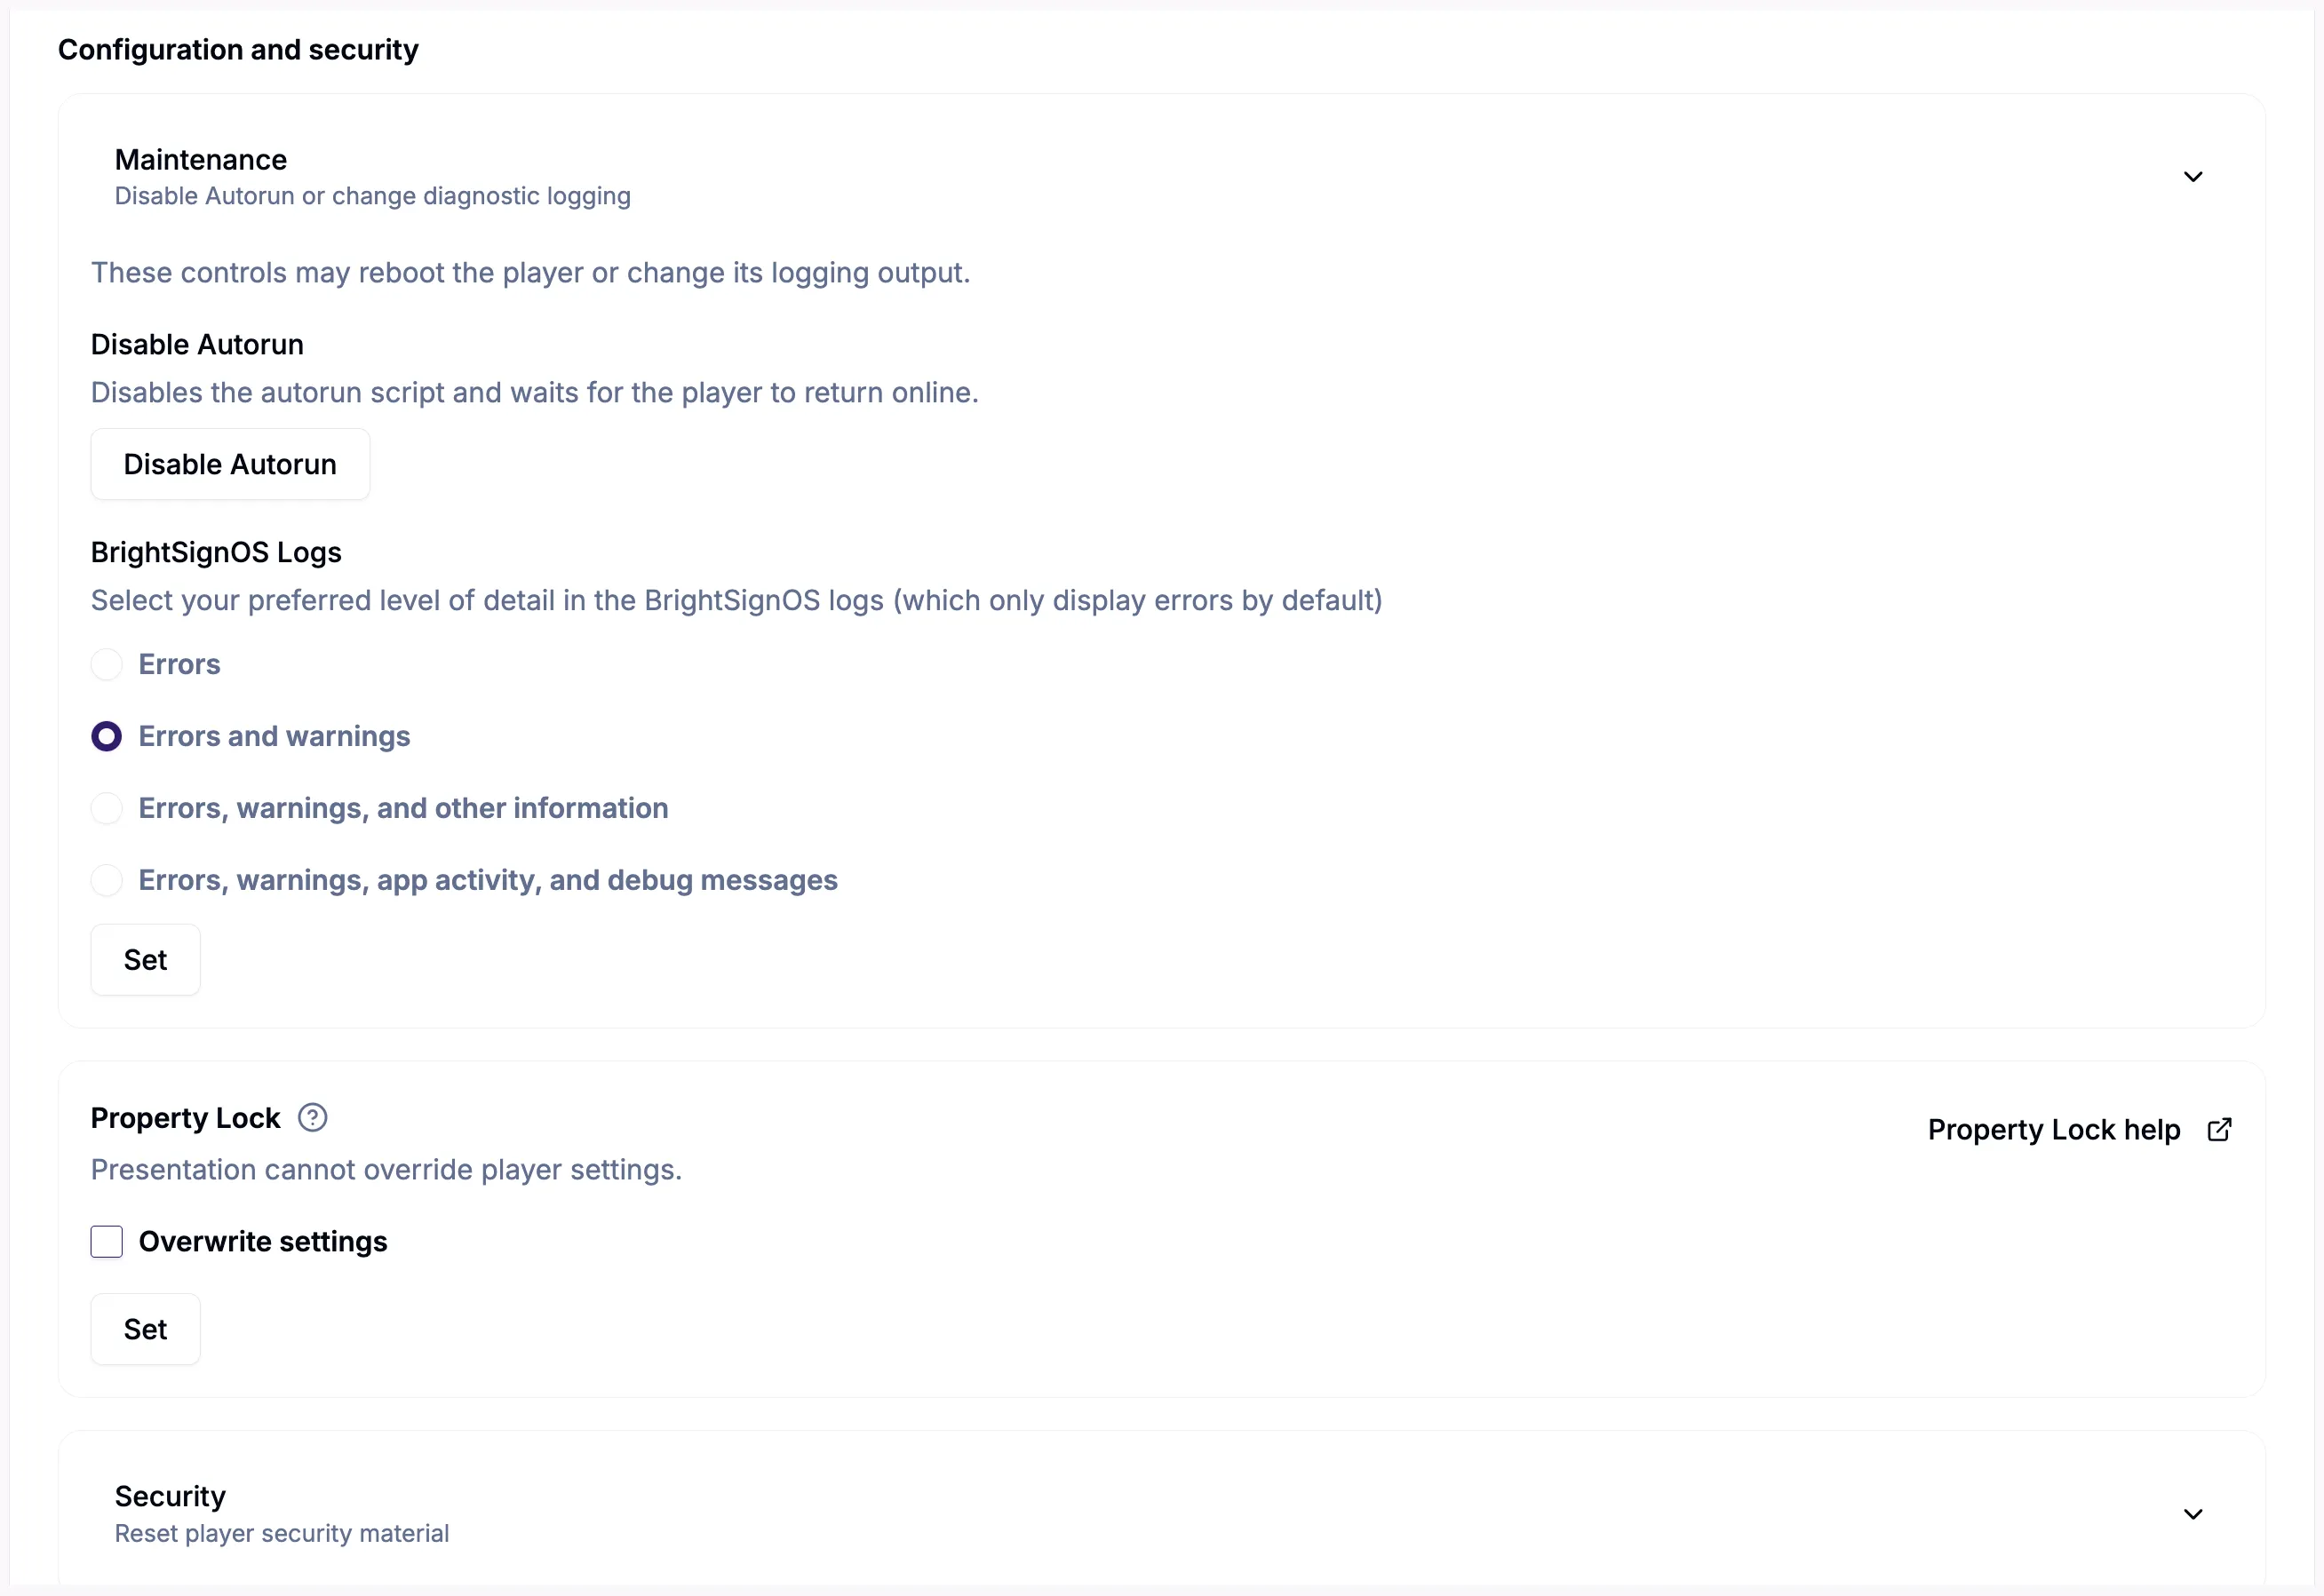
Configuration and security
These actions allow you to configure your player and change security settings.
Registry
This section allows you to view and edit the player's registry.
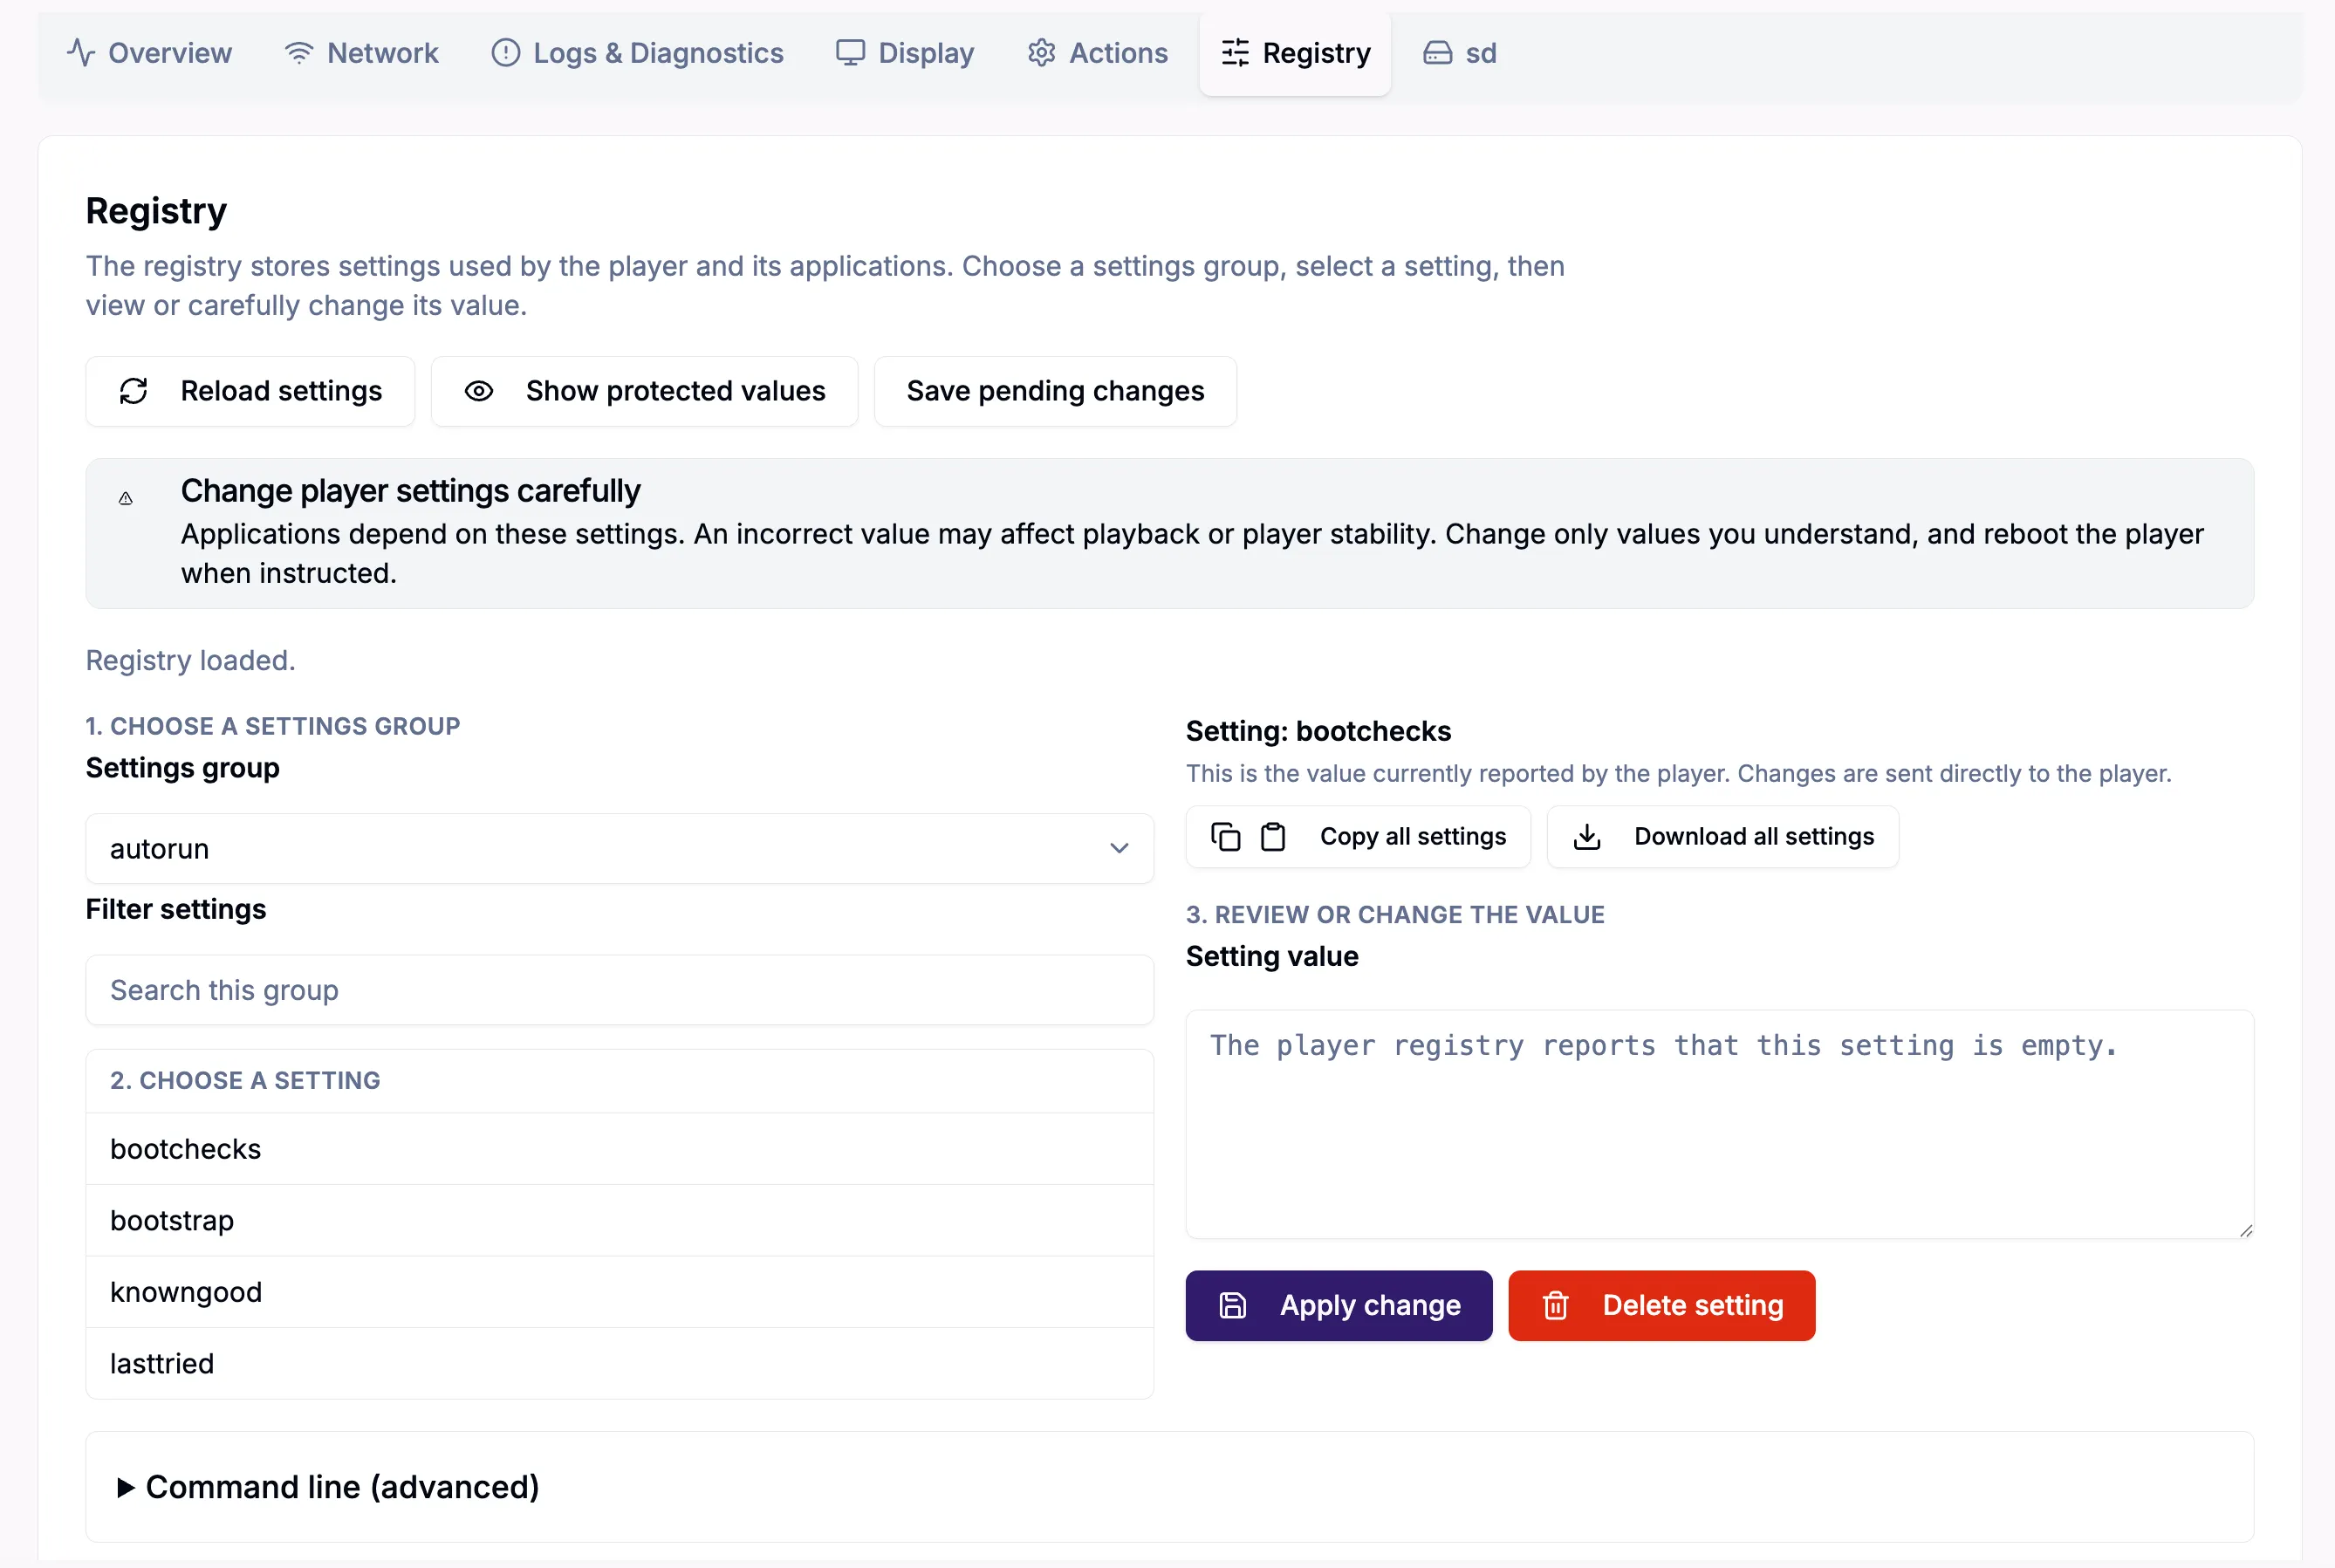
There are two ways to interact with the registry in Control:
- Edit the setting on the command line by opening the Command line (advanced) option at the bottom of the section.
- Go to a Settings Group and choose a setting to edit its value in the right column. When you are done, select Apply change. You will be prompted to add the player serial number before the change is accepted, since registry changes can be destructive.
SD/SSD/USB
Here you can see information about the storage device on the selected player or take various actions related to it.
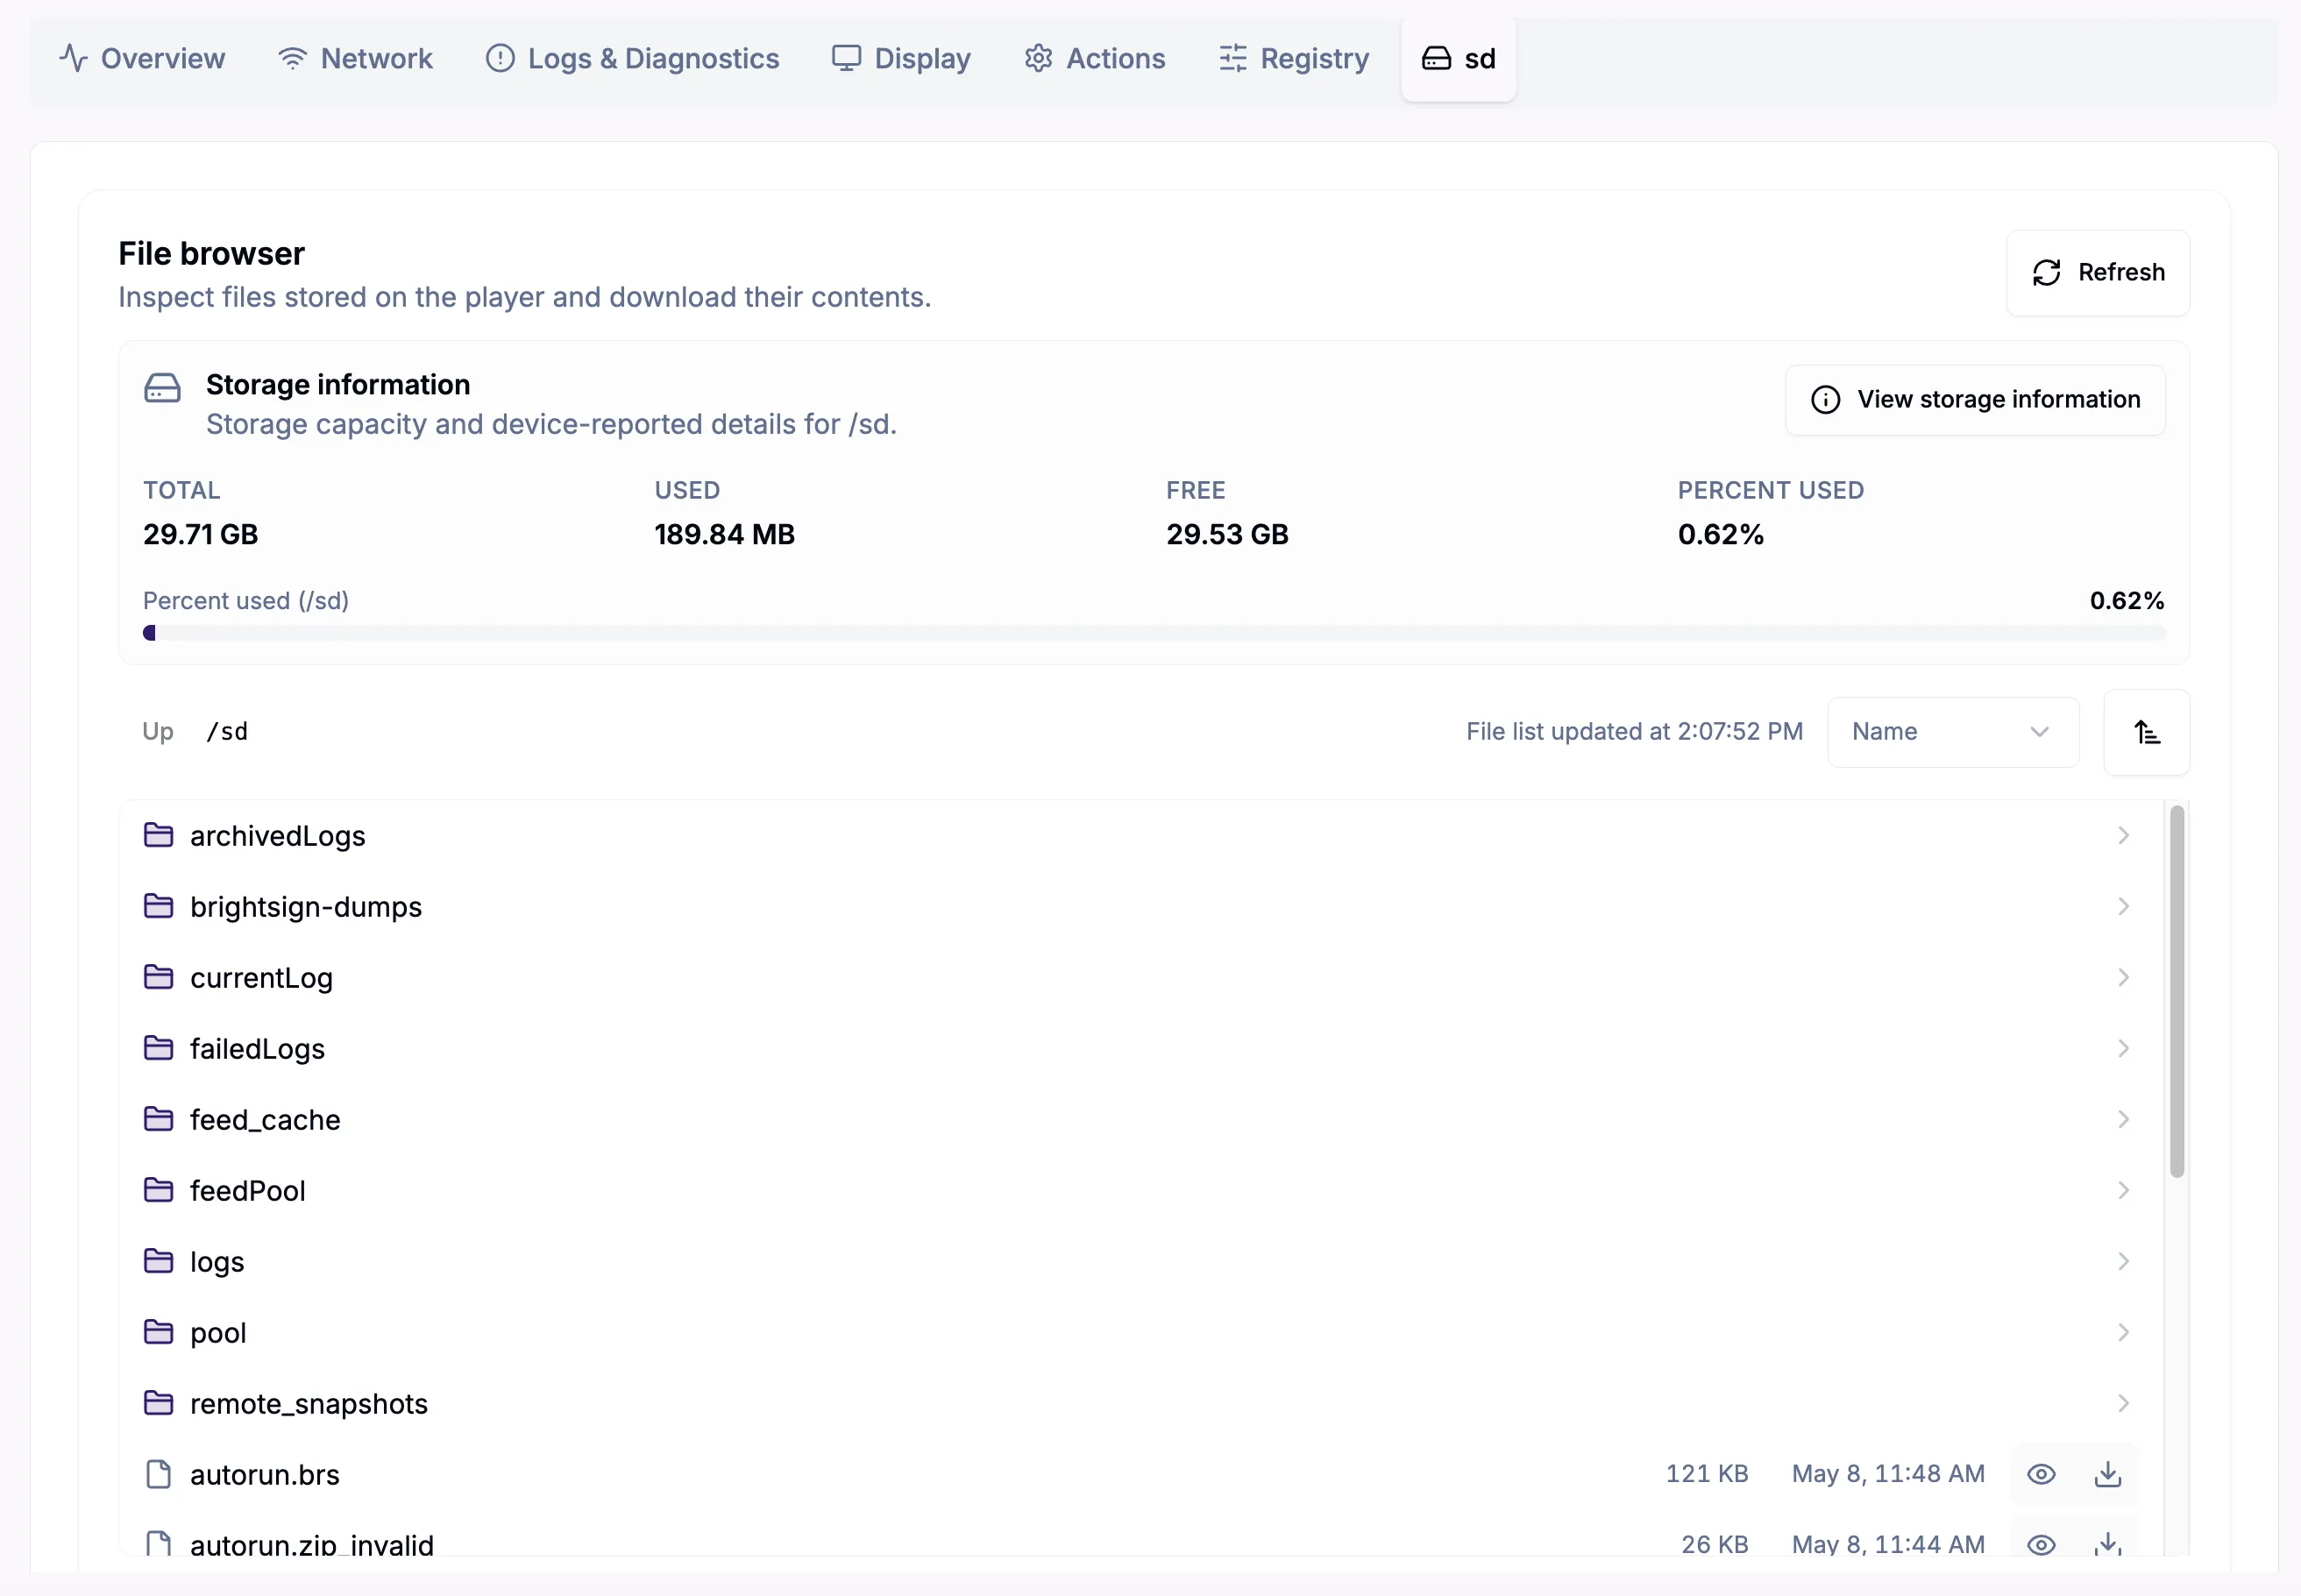
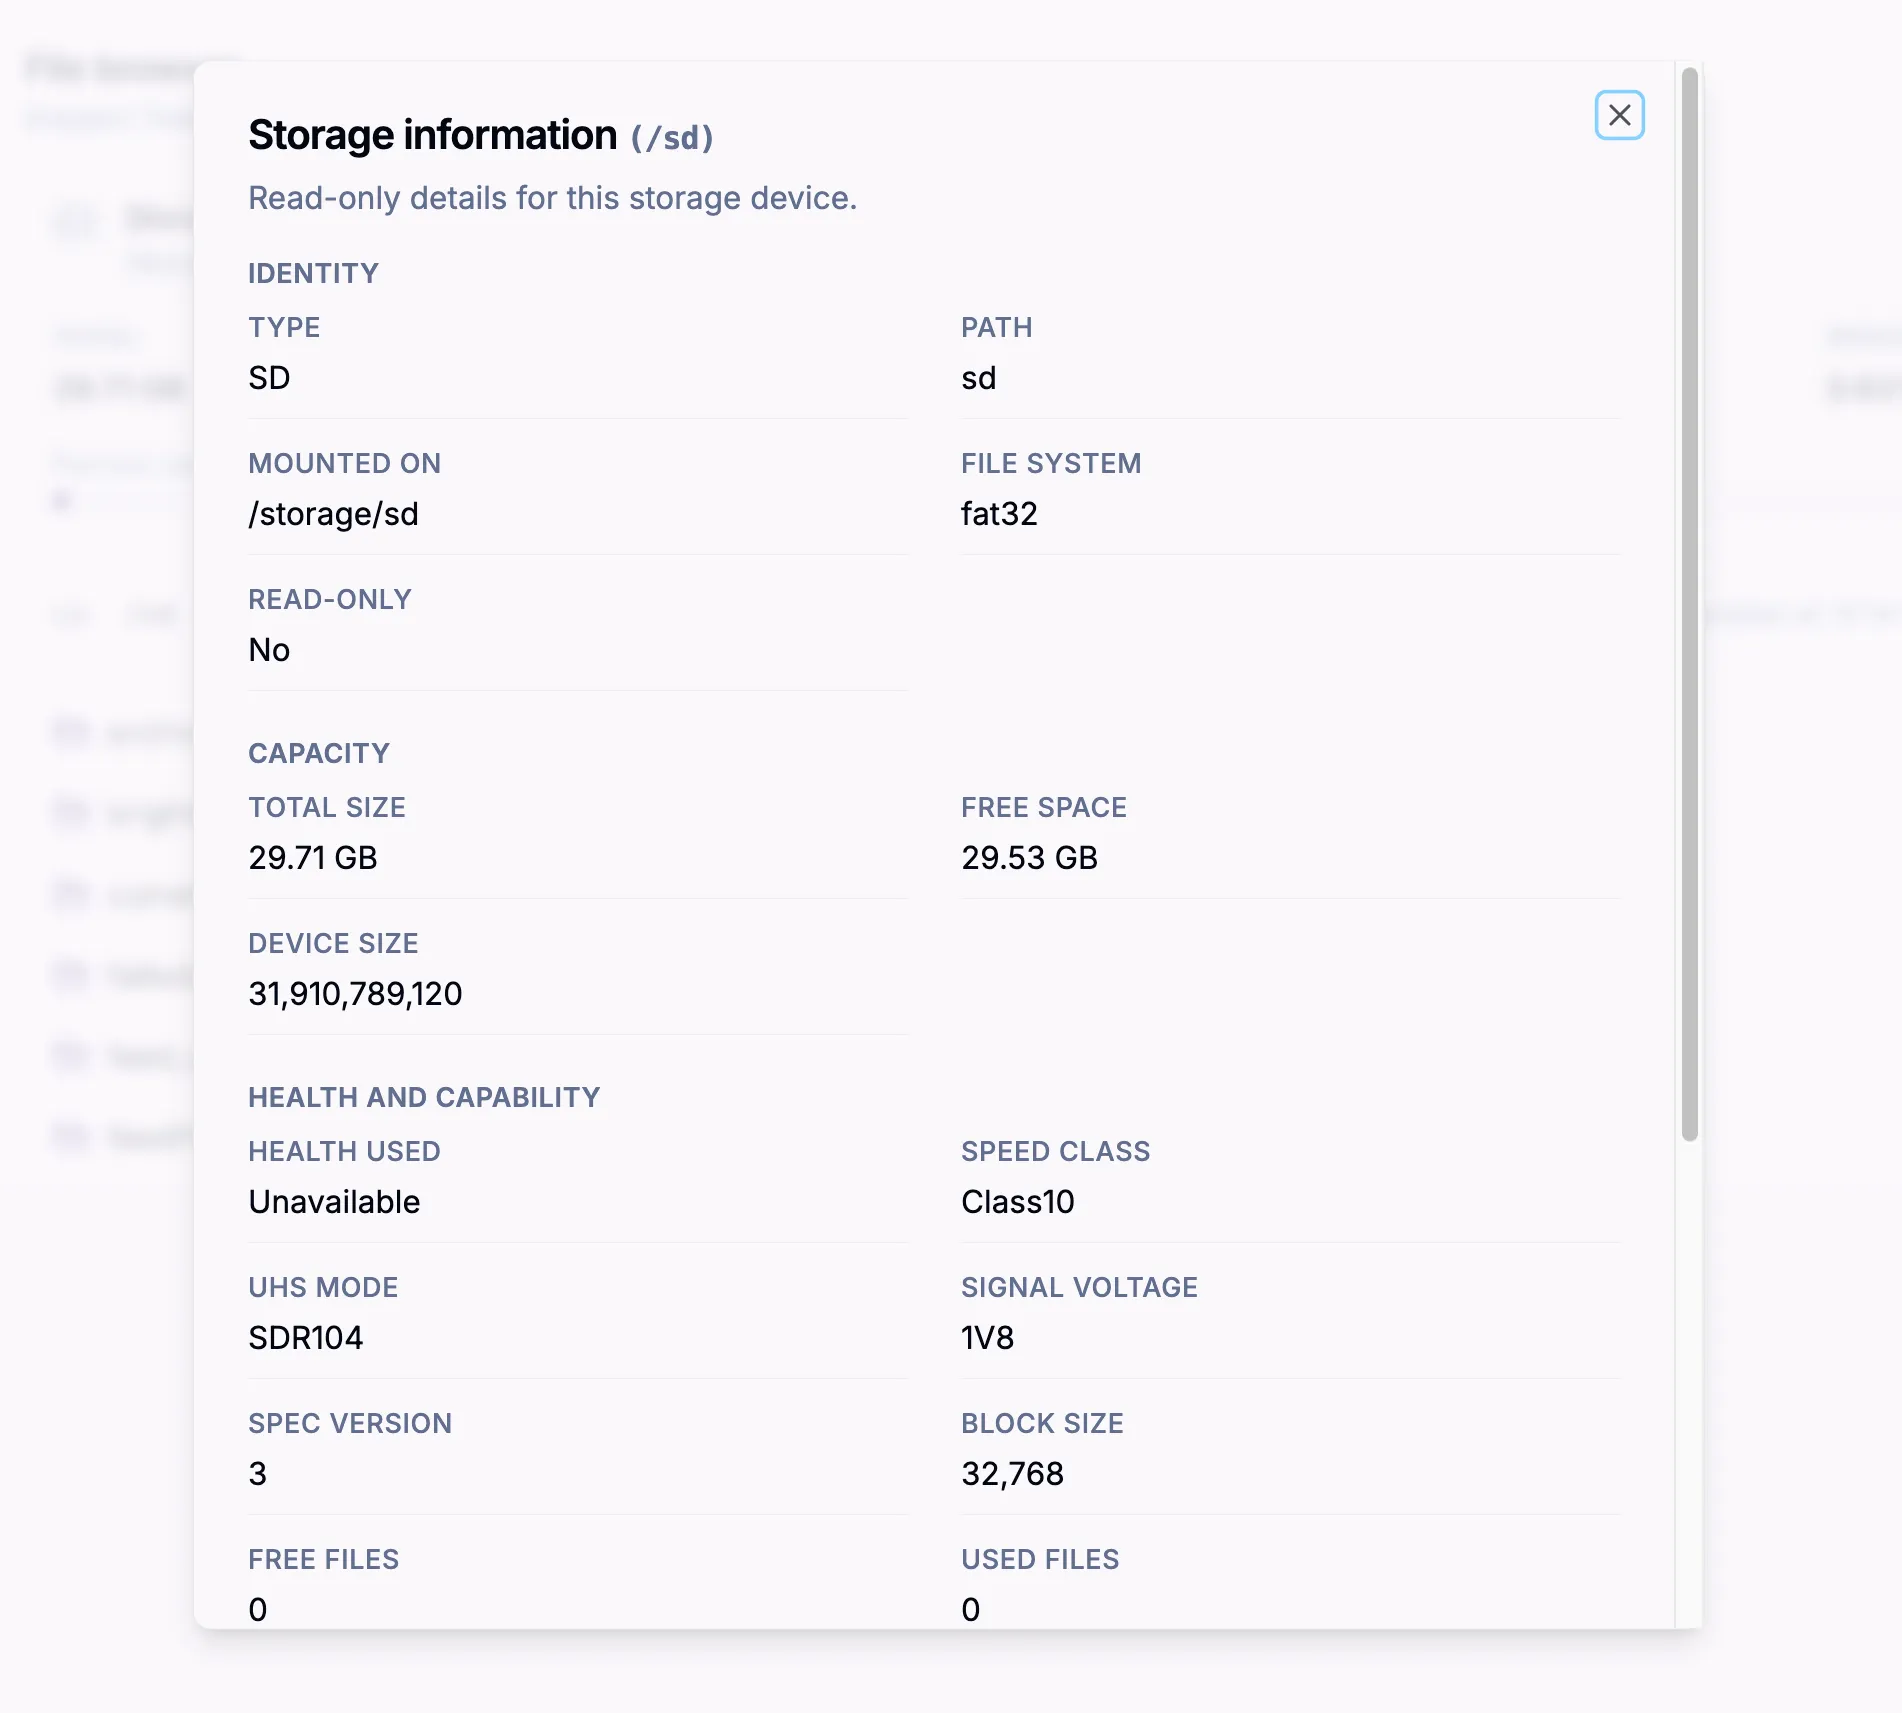
The main screen displays information about storage capacity and availability, as well as the SD card content on the selected player. The View Storage information button displays further detailed, read-only, information about your storage device:
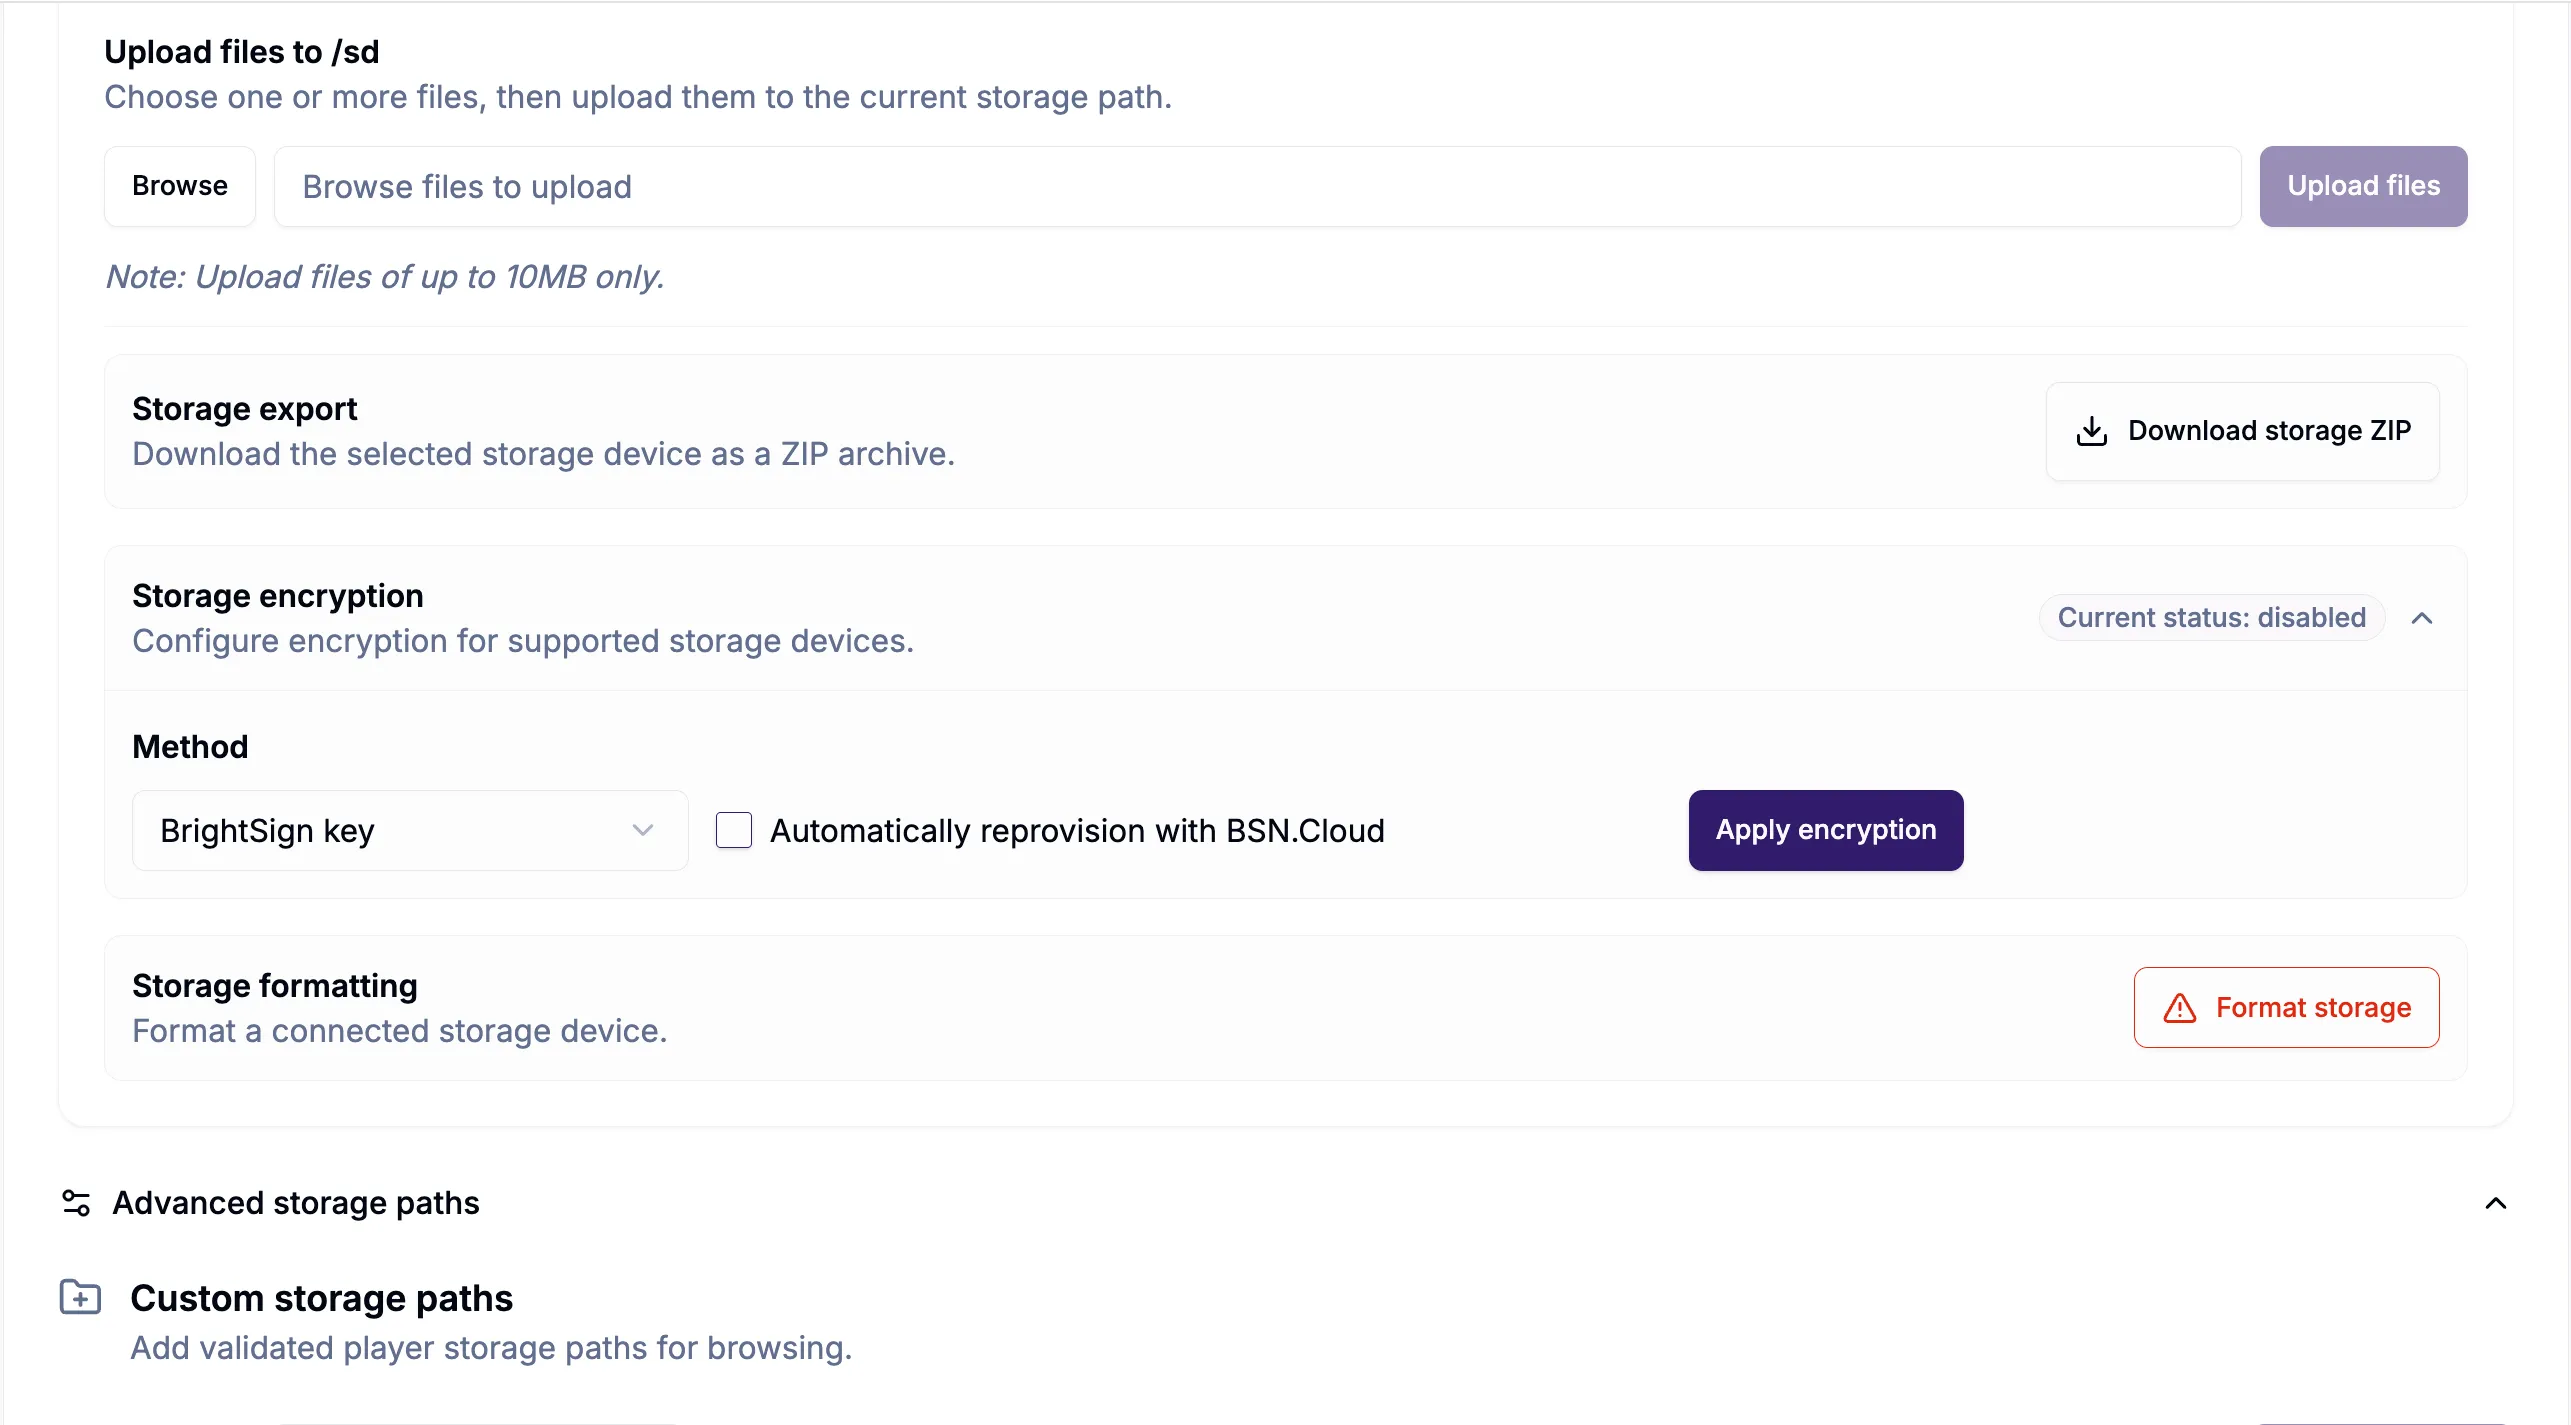
Scroll to the bottom of the page to upload files to the storage device, export the storage device, configure storage encryption, and/or format a connected storage device. Custom storage paths can also be added.